Sending coupons to a chosen group happens in Targeted Campaign, with the objective set to Send Coupon / Reward. The coupon lands in the coupon page of every customer inside the group you pick. It takes about 25 minutes once the reward and the segment are ready. Nothing here deducts customer points or alters your existing promotions — the coupon is simply granted.
⚡ Quick Path:
Targeted Campaign→+ Create Campaign→ pickSend Coupon / Reward→OK→ name it, choose aRewardand aReward Expire date→Save→Target List / Segmentationtab →Select Segmentation→ pick the group →Confirm→ checkExpected Reachand setLimit couponif you need one →Save→Publish
Requirements before you start
- Access to Targeted Campaign — if it isn't in your left sidebar, ask an Admin on your team to grant it first.
- The reward you're sending — pick an existing one with
Add Reward, or build one on the way with+ Create Reward. - Enough coupon codes in stock — the system shows a status bar telling you whether stock covers the group, but it's worth checking before you start.
- A segment that already exists — this article picks from what's there; it doesn't create groups.
- A coupon expiry date — a different thing from the campaign's send date.
📌 Good to know: if the group you want doesn't exist yet, talk to the DeepBLOK team who look after your brand before building the campaign. The step below selects from existing segments; it doesn't create one on the same screen.
Send coupons to a segment in 5 steps
1. Create a coupon campaign
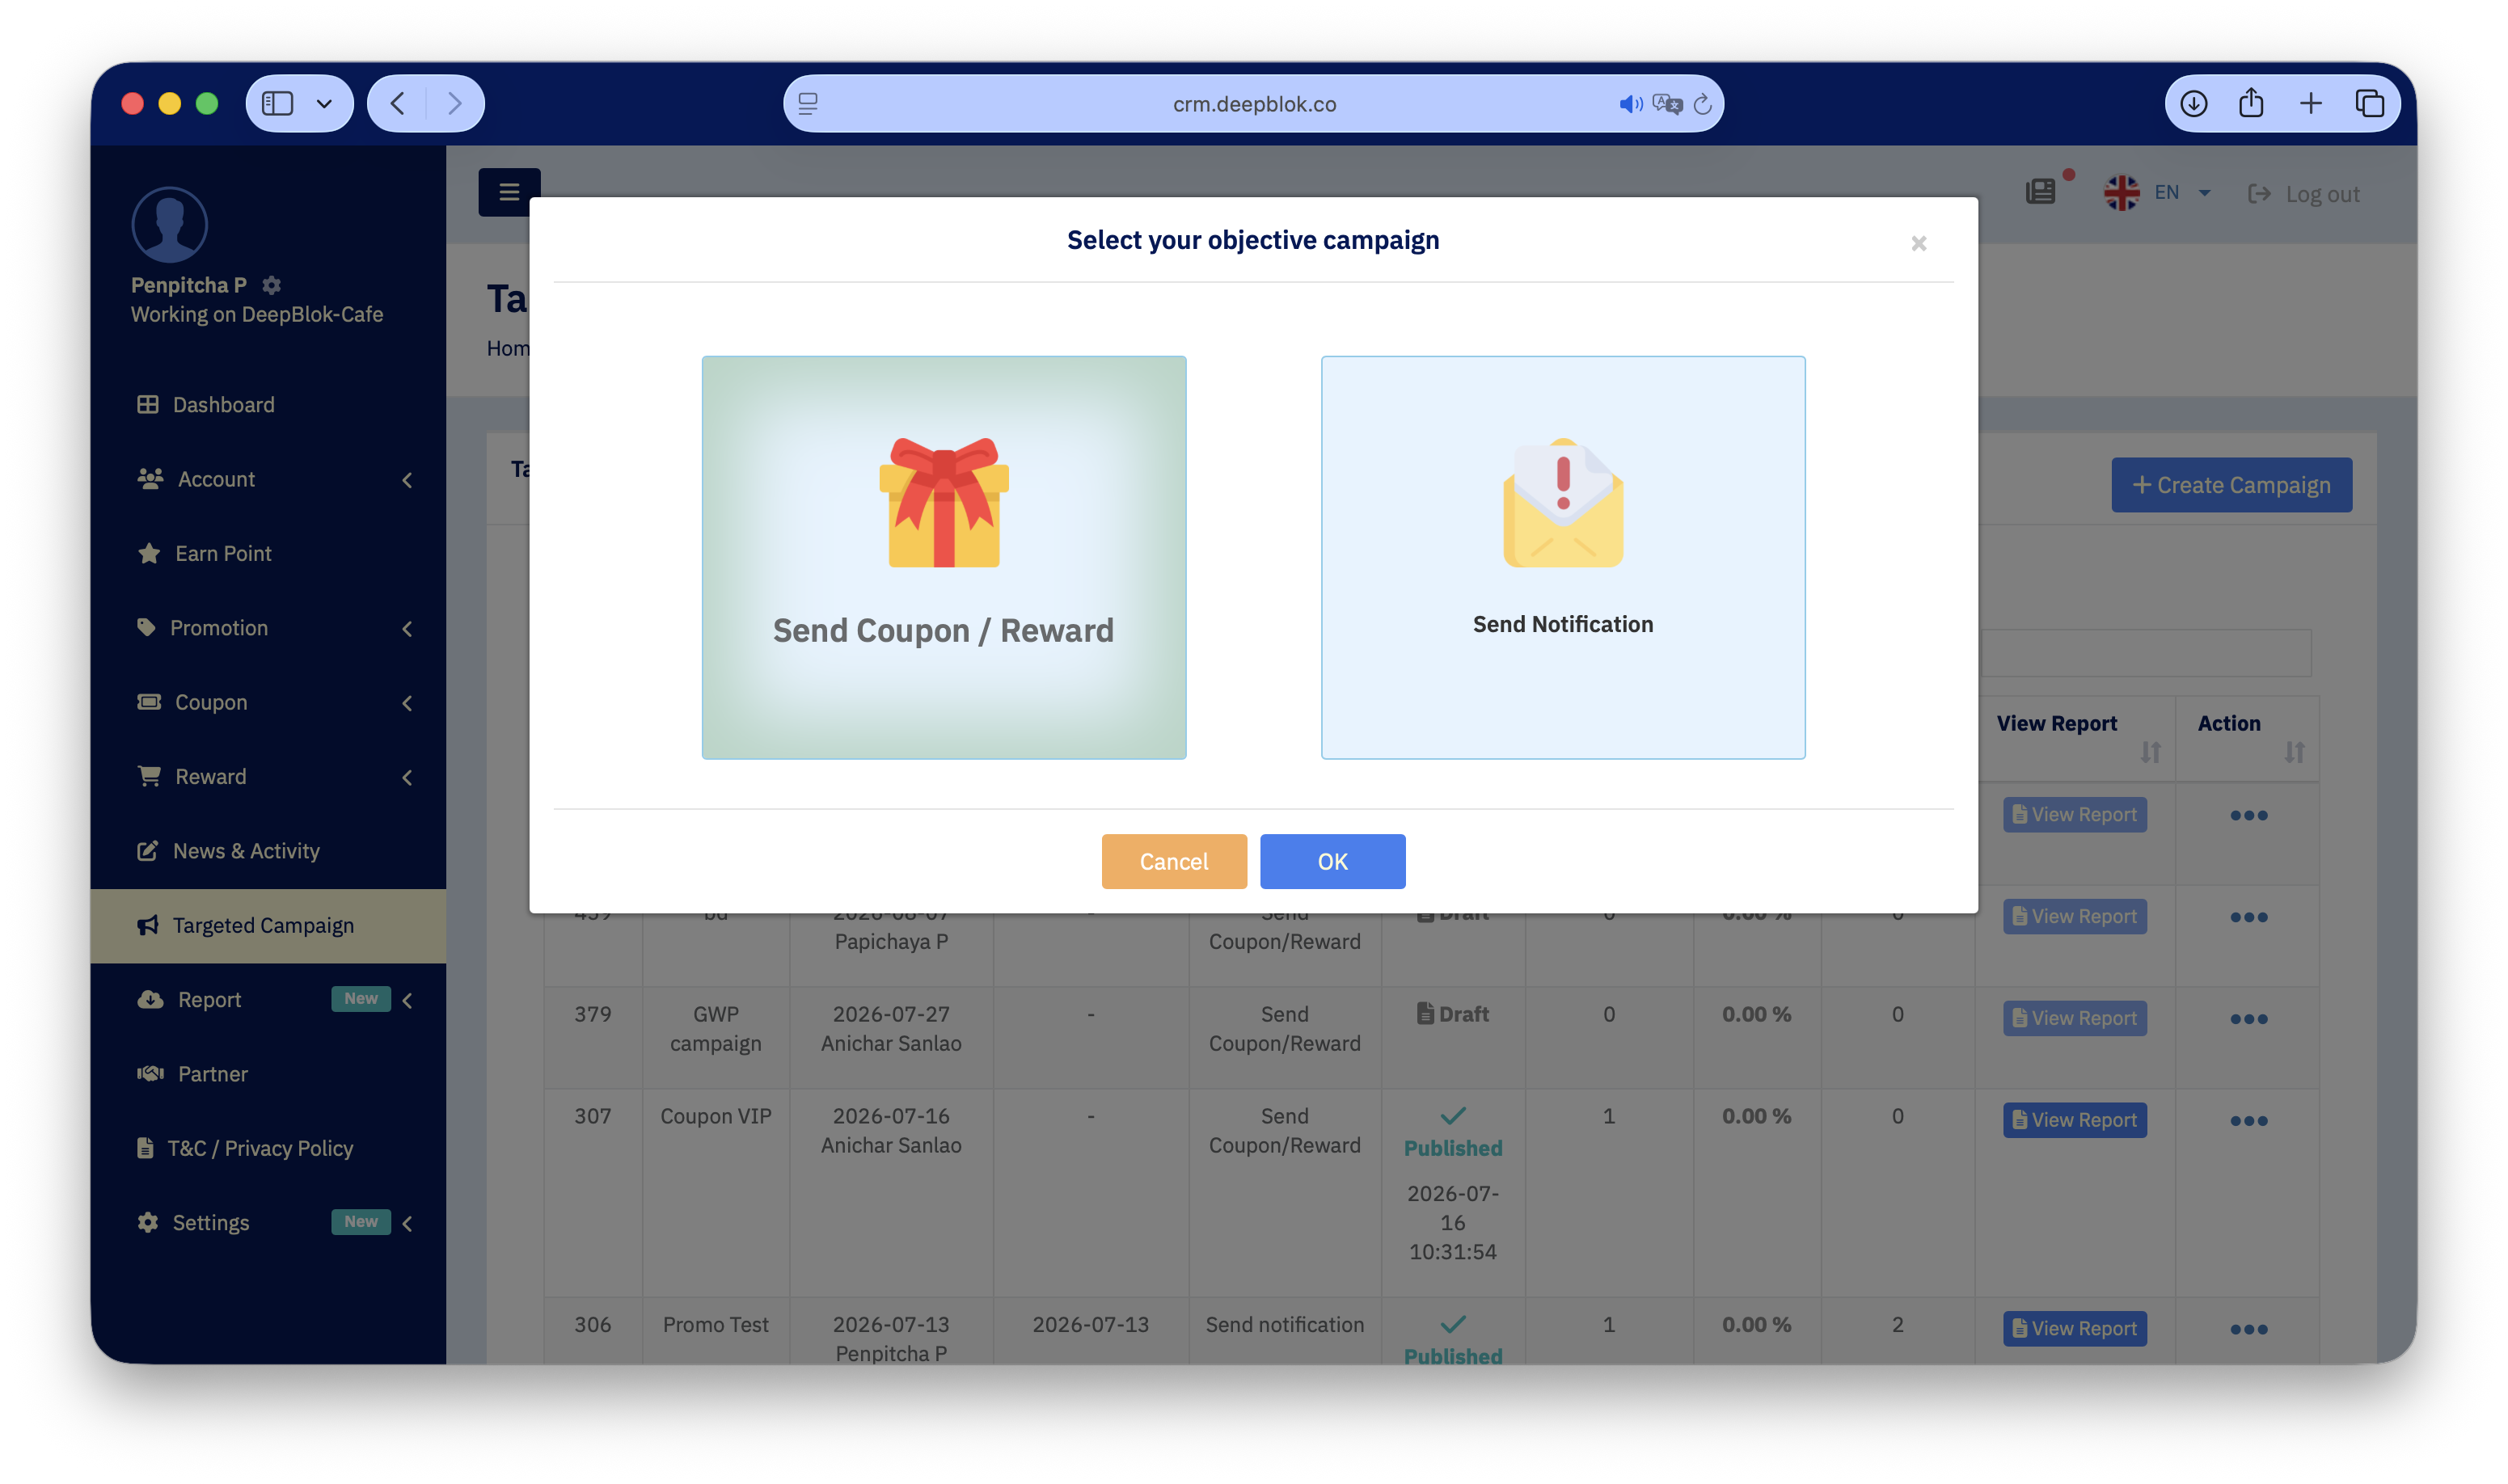
In the left sidebar, click Targeted Campaign, then press the blue + Create Campaign at the top right.
In the Select your objective campaign dialog, click the Send Coupon / Reward tile and press OK.
2. Choose the reward and set the coupon expiry
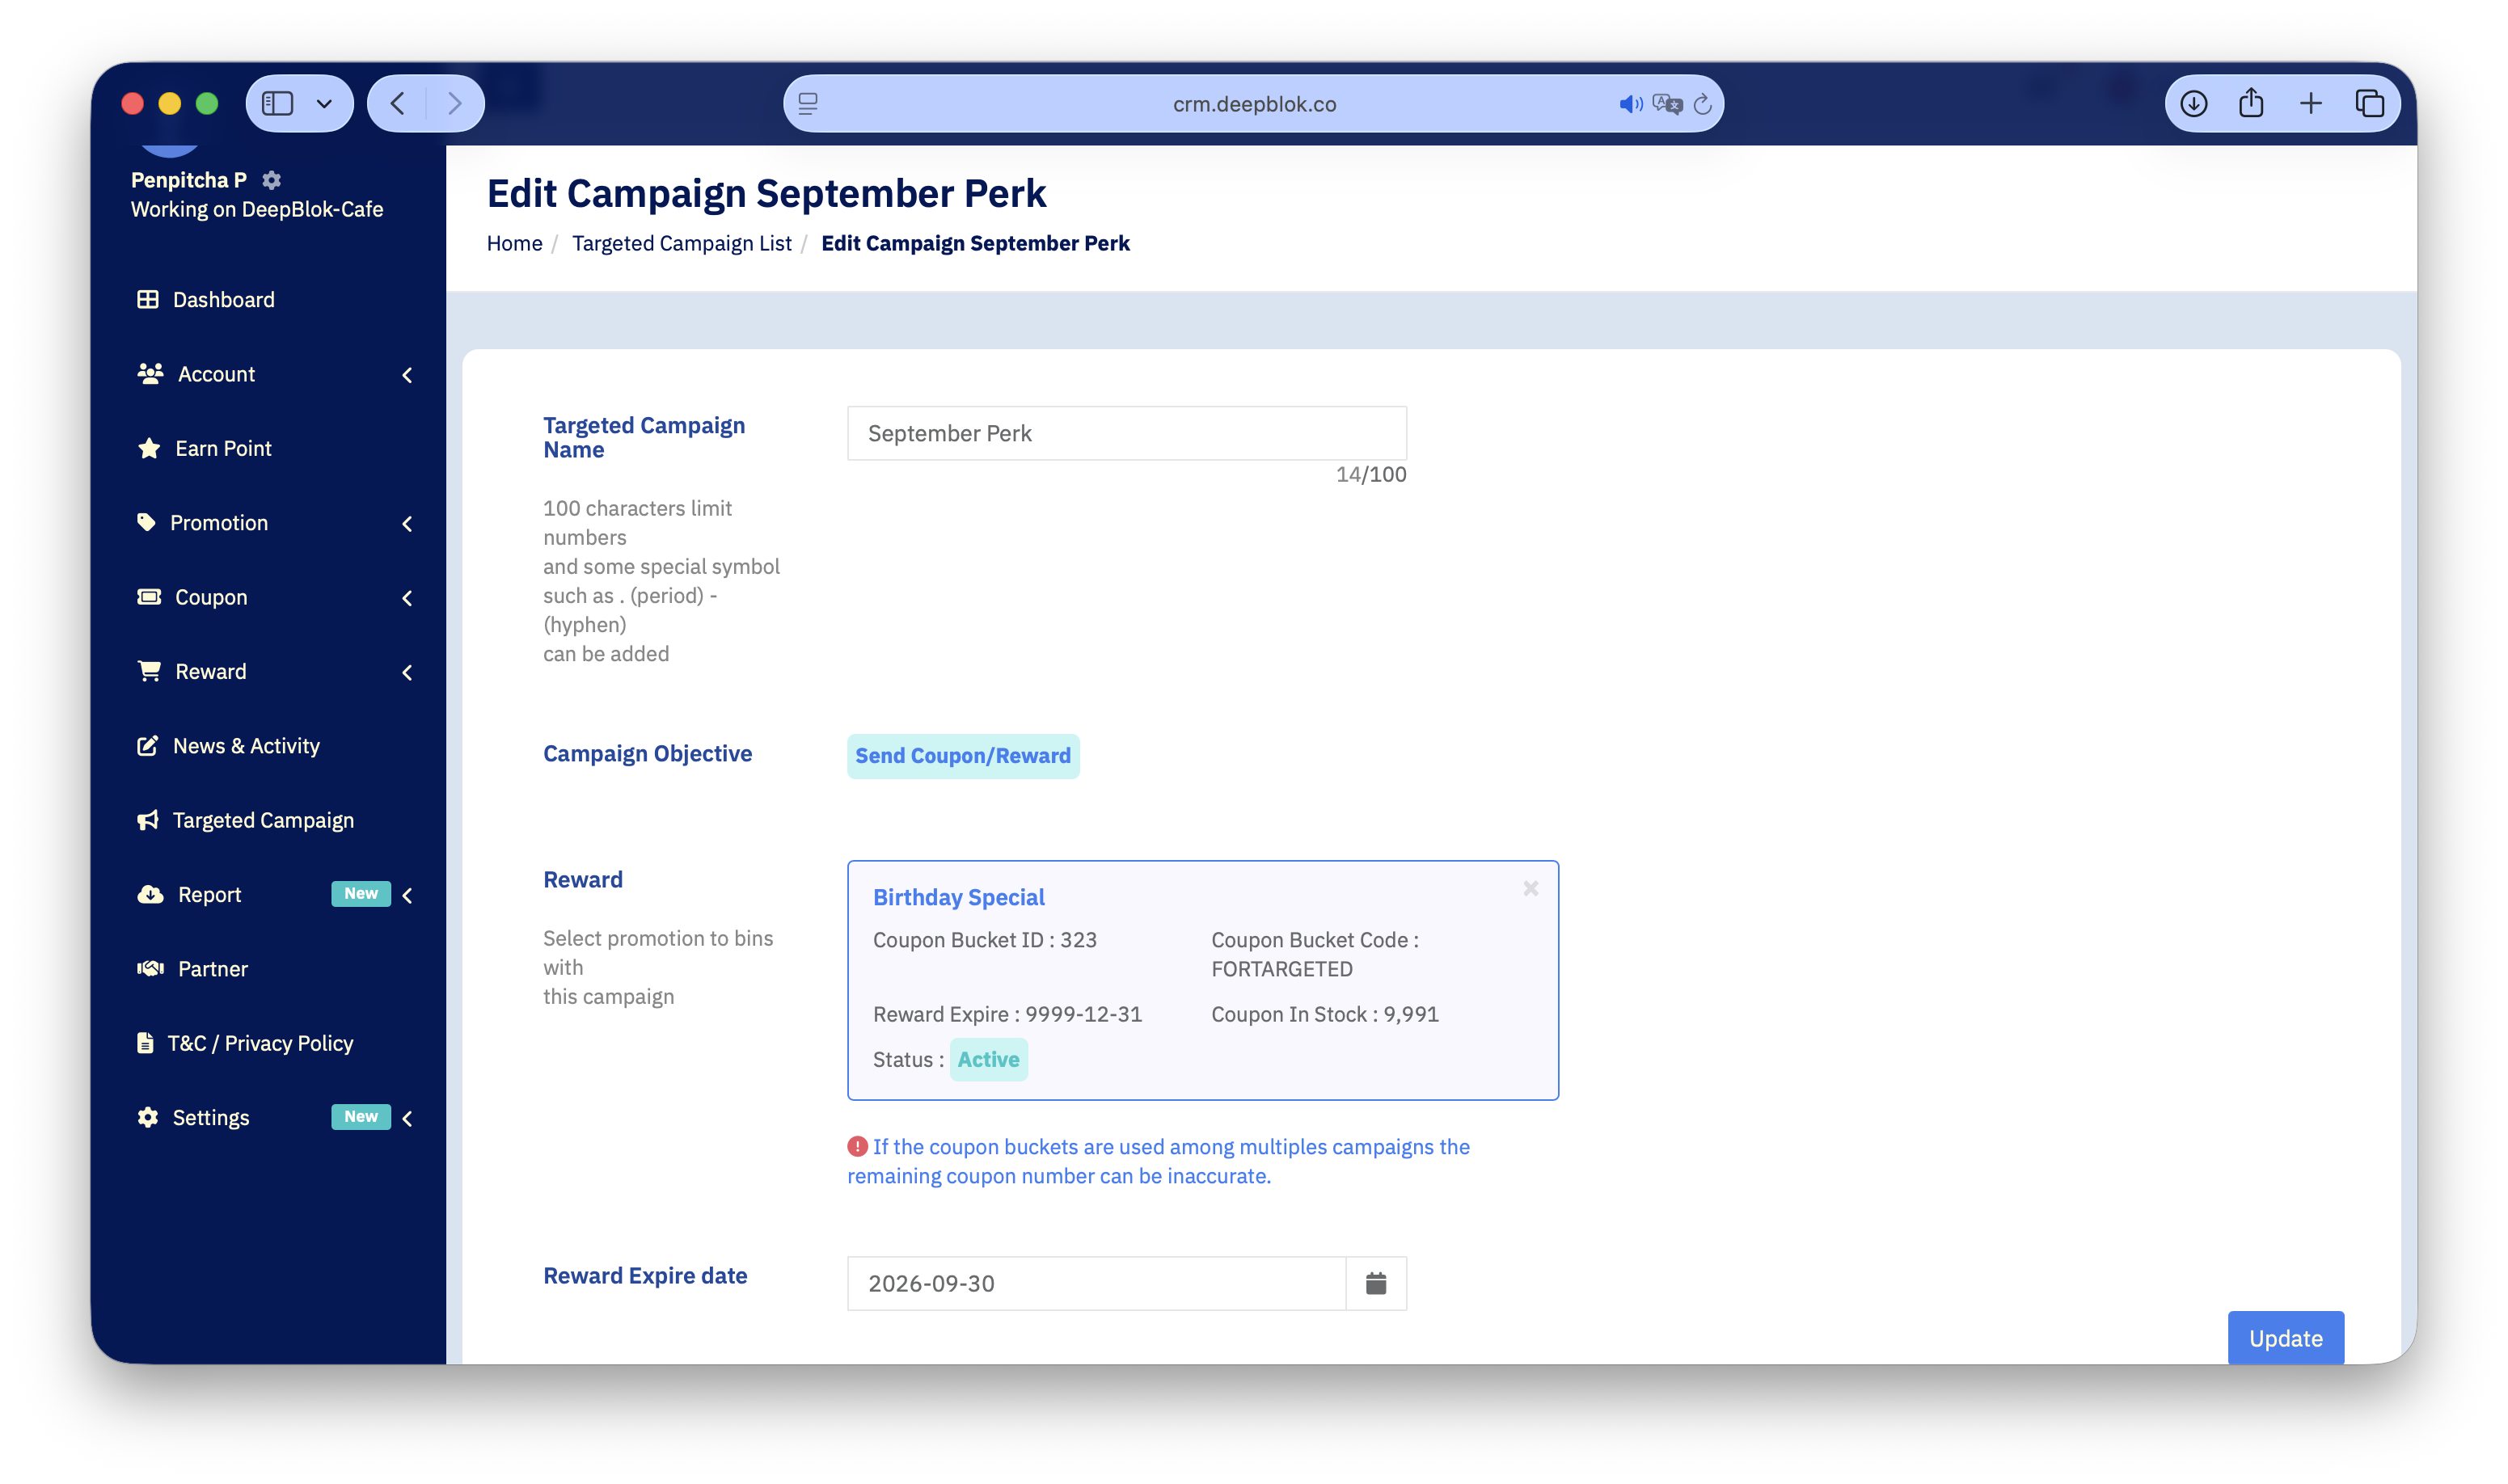
The Create Campaign page opens. Its top section has 4 lines to handle.
1. Targeted Campaign Name The internal campaign name, capped at 100 characters with a live counter. Putting the target group and the round in the name makes it far easier to find later.
2. Campaign Objective A read-only chip reading Send Coupon/Reward.
3. Reward 2 buttons. Add Reward opens the list of existing rewards to search and pick from, then Confirm brings you back. + Create Reward opens a four-page create page — details, description and conditions, images, and the Bucket that holds the codes.
4. Reward Expire date The expiry date of the coupon the customer receives.
Press Save at the bottom right of the section.
⚠️ Watch out:
Reward Expire dateis the coupon's expiry, not the campaign's end. Set it too close and customers who receive it get almost no time to use it. Base it on how long that group typically takes to come back, not on when the campaign finishes.
3. Pick the group in Select Segmentation
Scroll to Target User and stay on its default tab, Target List / Segmentation. Press the teal Select Segmentation button on the right.
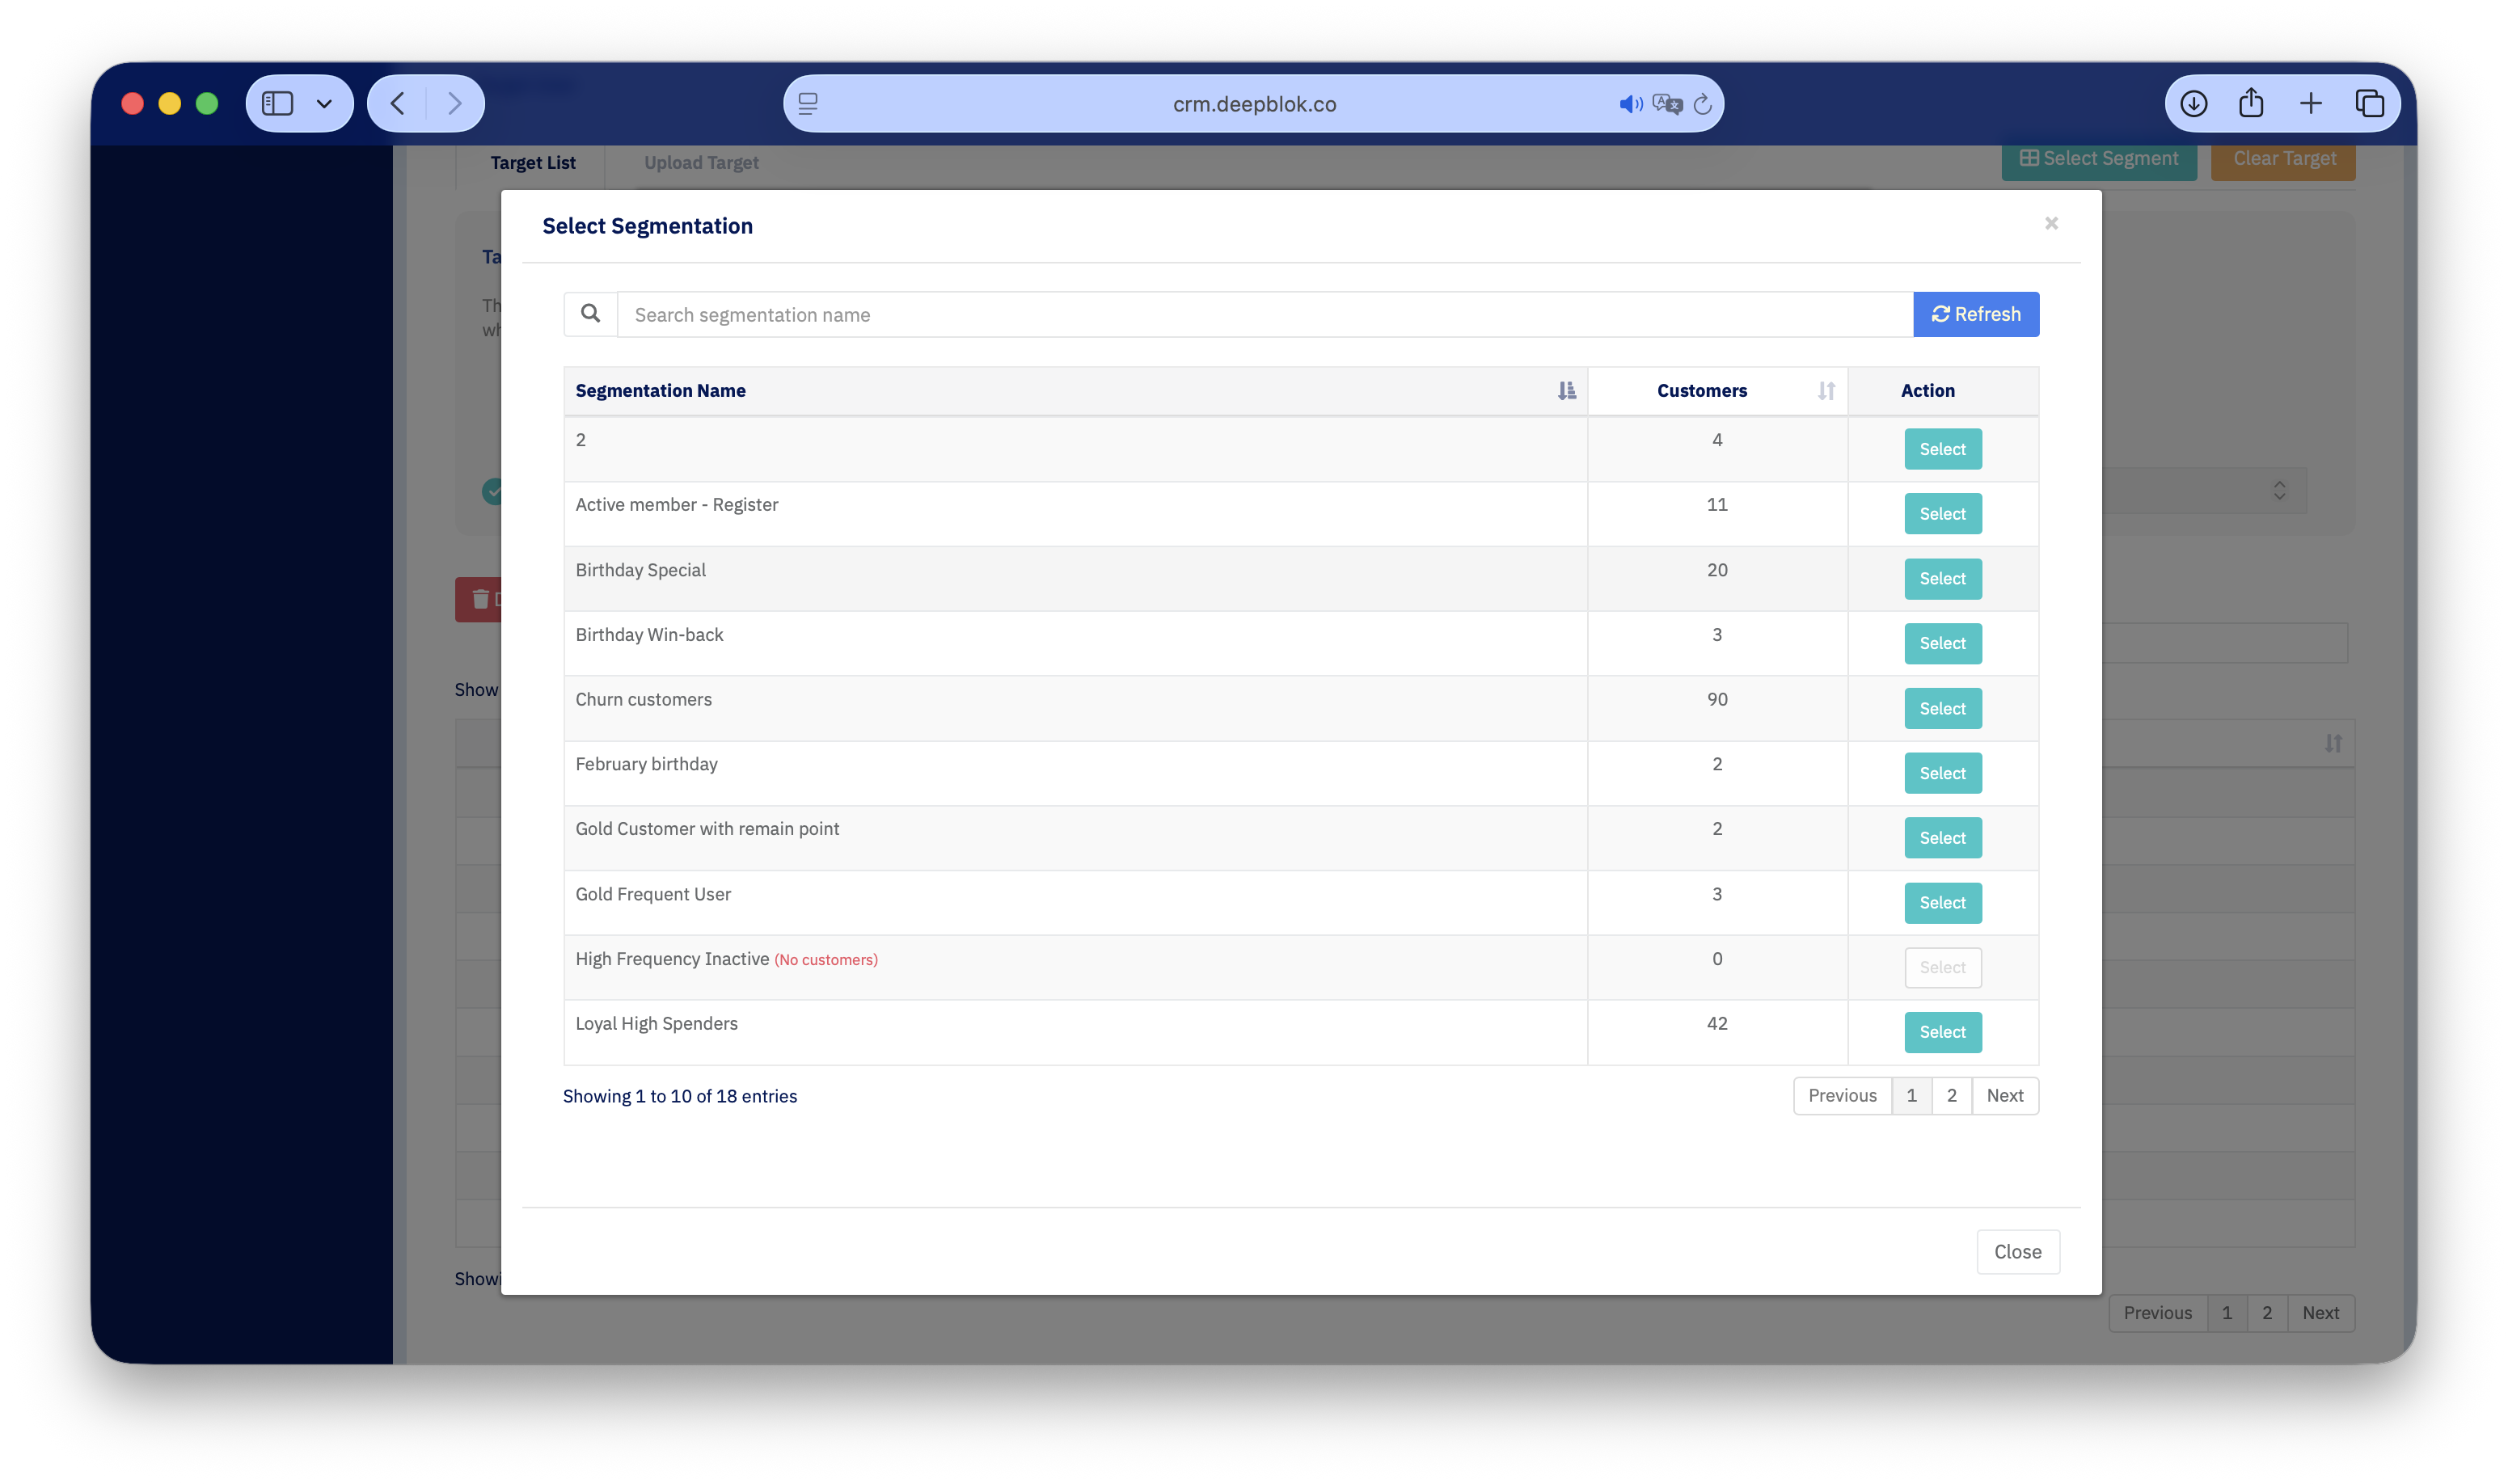
The Select Segmentation dialog opens with:
- a
Search segmentation namebox beside aRefreshbutton - a two-column table:
Segmentationfor the group name andCustomersfor how many people it holds - a
Selectbutton on every row - a blue
Confirmat the bottom right
Press Select on the row you want, then Confirm.
⚠️ Note on groups you can't select: a group holding 0 customers shows a red
(No customers)after its name and itsSelectbutton is greyed out. That's a guard against building a campaign that reaches nobody. If the group you meant to use shows 0, no customer currently meets its conditions — pick a different group or check with your team first.