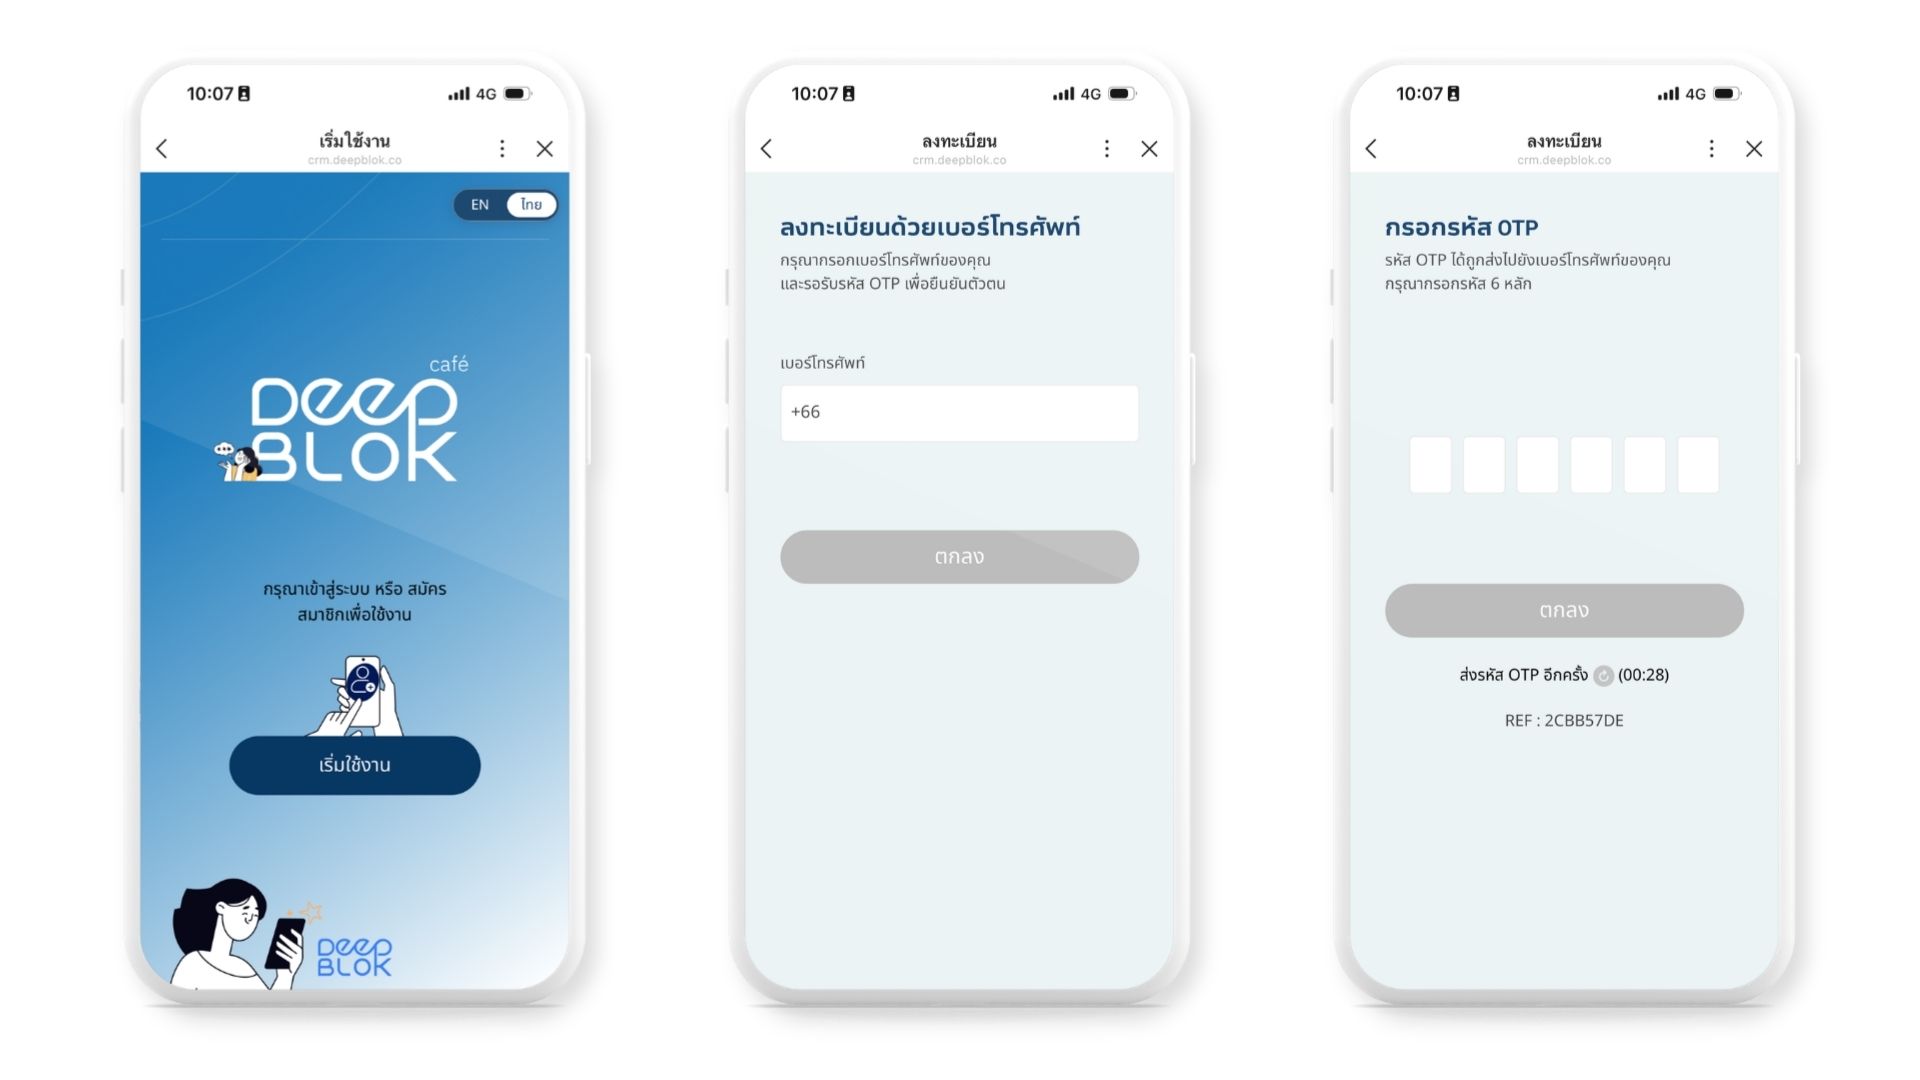
The registration form is your one chance to collect customer information at the moment they're willing to give it. You configure it in Setting > Register form Management by choosing which fields to collect and which are mandatory. The setting applies only to people who sign up from now on — existing members and their point balances are untouched.
⚡ Quick Path:
Setting→Register form Management→ click the bar of the field you want on → set theRequired Fieldswitch →Save
Requirements before you start
- An account with the Admin Role — you need access to
Setting > Register form Management. - A team decision on what you're collecting. If a field is added later, every member who signed up before it existed has no data in it.
- If you plan to enable the branch field, at least one branch must already exist — see the How to set up branches for the member registration form article.
- A phone that can open your brand's LINE app, so you can test the real result afterwards.
What to consider when building the form
The more boxes the form asks for, the longer signup takes. Collecting only what you will actually use works better than turning everything on. Before enabling any field, answer these 2 questions.
1. What will this data be used for, within the next month? If you can't name who will use it and for what, don't collect it yet. Data collected and never used is a maintenance obligation with no return.
2. If you don't ask at signup, can you get it elsewhere? Date of birth is a good example of something you have to ask for — no amount of purchase behaviour reveals it. What products someone likes, on the other hand, you don't need to ask: purchase history tells you.
💡 A rule that works for most businesses: make mandatory only what the system needs to serve the customer at all (name, contact number) and what's tied to a campaign you've already committed to (date of birth if you're running birthday offers; branch if you're measuring by location). Leave everything else optional.
Configure the form in 4 steps
Step 1: Open Register form Management
In the left sidebar, click Setting, then Register form Management.
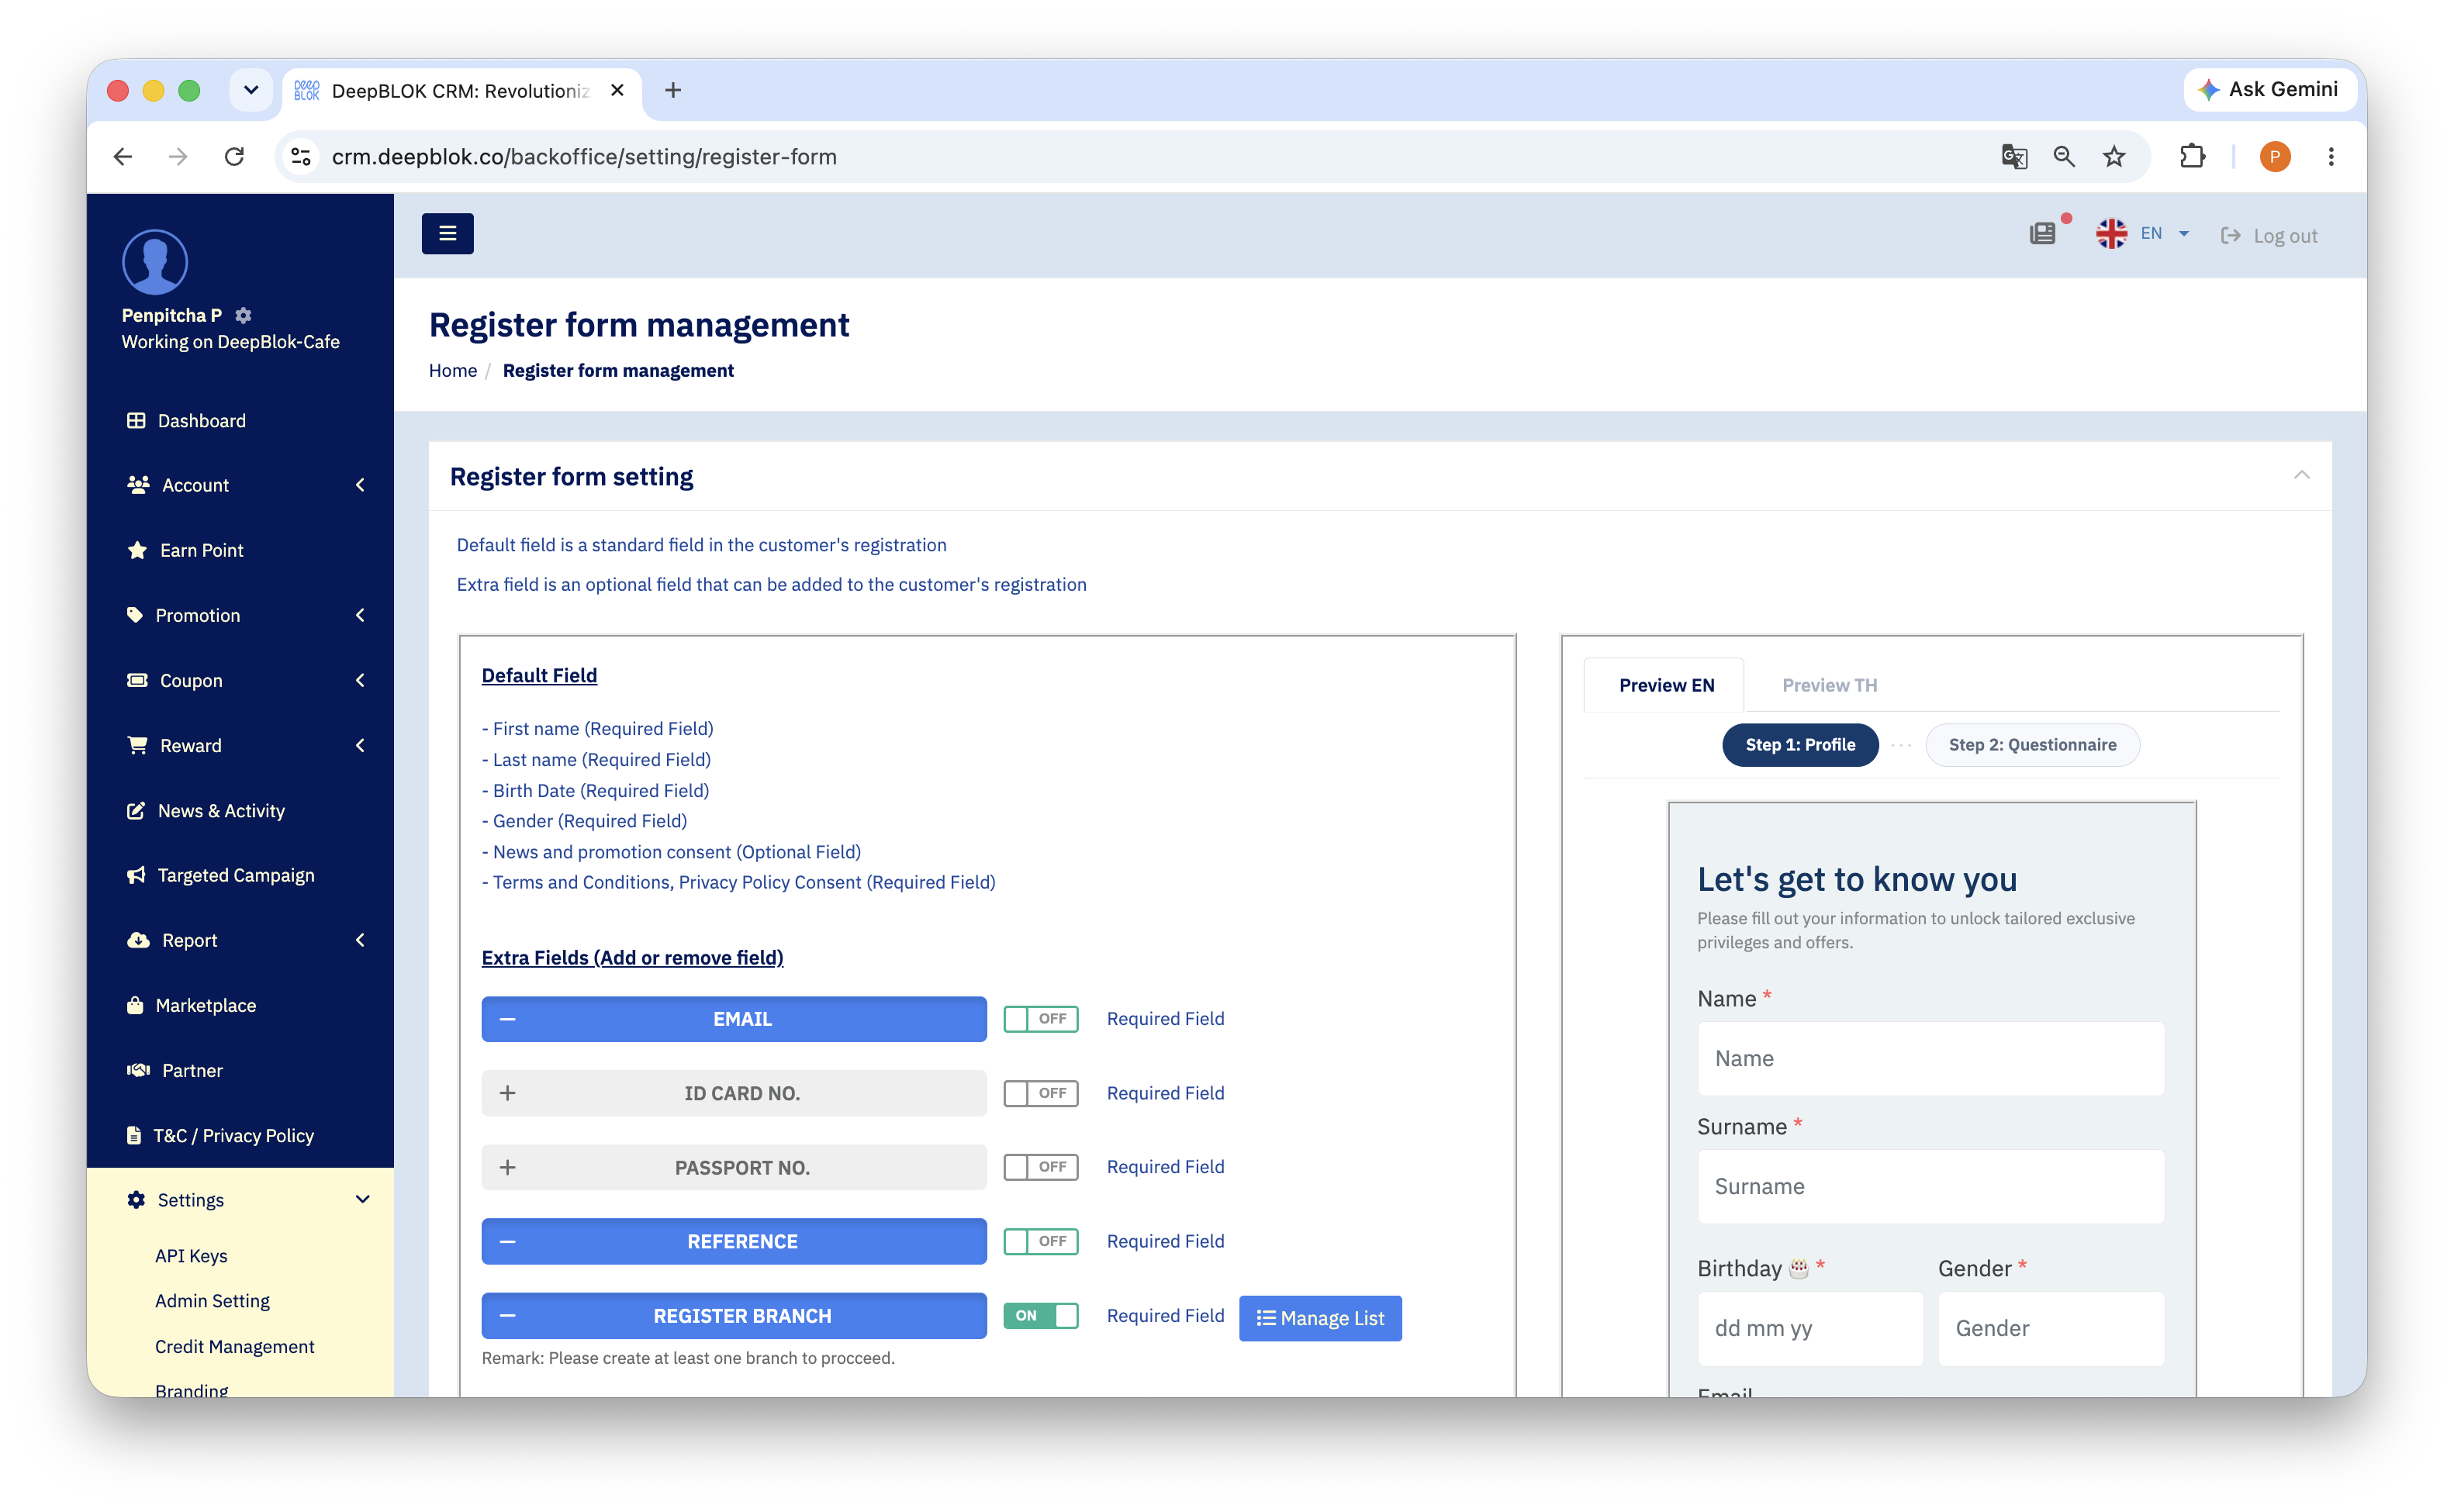
The page lists every field on the registration form as a full-width bar. Scroll through the whole list from top to bottom — the field list isn't the same for every brand.
Step 2: Read each field's state from the bar colour
Each field is one full-width bar, and its colour tells you the state at a glance.
Click the bar of any field you want to turn on.
Step 3: Set which fields are mandatory
Beside each bar is an ON / OFF switch labelled Required Field. Set each one to match what you decided in the section above.
📌 Note: this switch chooses between mandatory and optional — it isn't the field's on/off. So a field that's enabled (blue bar) with the switch set to
OFFmeans customers see the box but can skip it. That's a valid and commonly used configuration, not a mistake.
Step 4: Save, then test on a real phone
Click the Save button at the bottom right of the page.
If you turned on the Register Branch field, the system requires at least one branch to exist first. Click the blue Manage List button at the end of that bar to create one, then come back and save. (Full steps are in the article on setting up branches for the member registration form.)
📌 If your brand has a questionnaire, the form splits into 2 steps.
Step 1: Profile — the fields you configure in this article, ending in a
Continuebutton.Step 2: Questionnaire holds your brand's own questions, configured separately (see the article Create a customer questionnaire). With no questions configured, the form stays a single page.