

Before your counter staff can open the Merchant App and award a single point, the branch and the user have to exist in the system. That work happens in the Merchant Application Portal, a separate back office from the DeepBLOK Backoffice your marketing team uses. The DeepBLOK team opens your Portal account and creates your brand when you come on board; from there, every branch and every user is yours to create. The first branch plus one user takes about 10 minutes, and none of it touches the members, points or promotions you have set up in DeepBLOK Backoffice.
⚡ Quick Path
Requirements before you start
- The onboarding email from DeepBLOK — it carries the username and password for your Portal account plus the sign-in link.
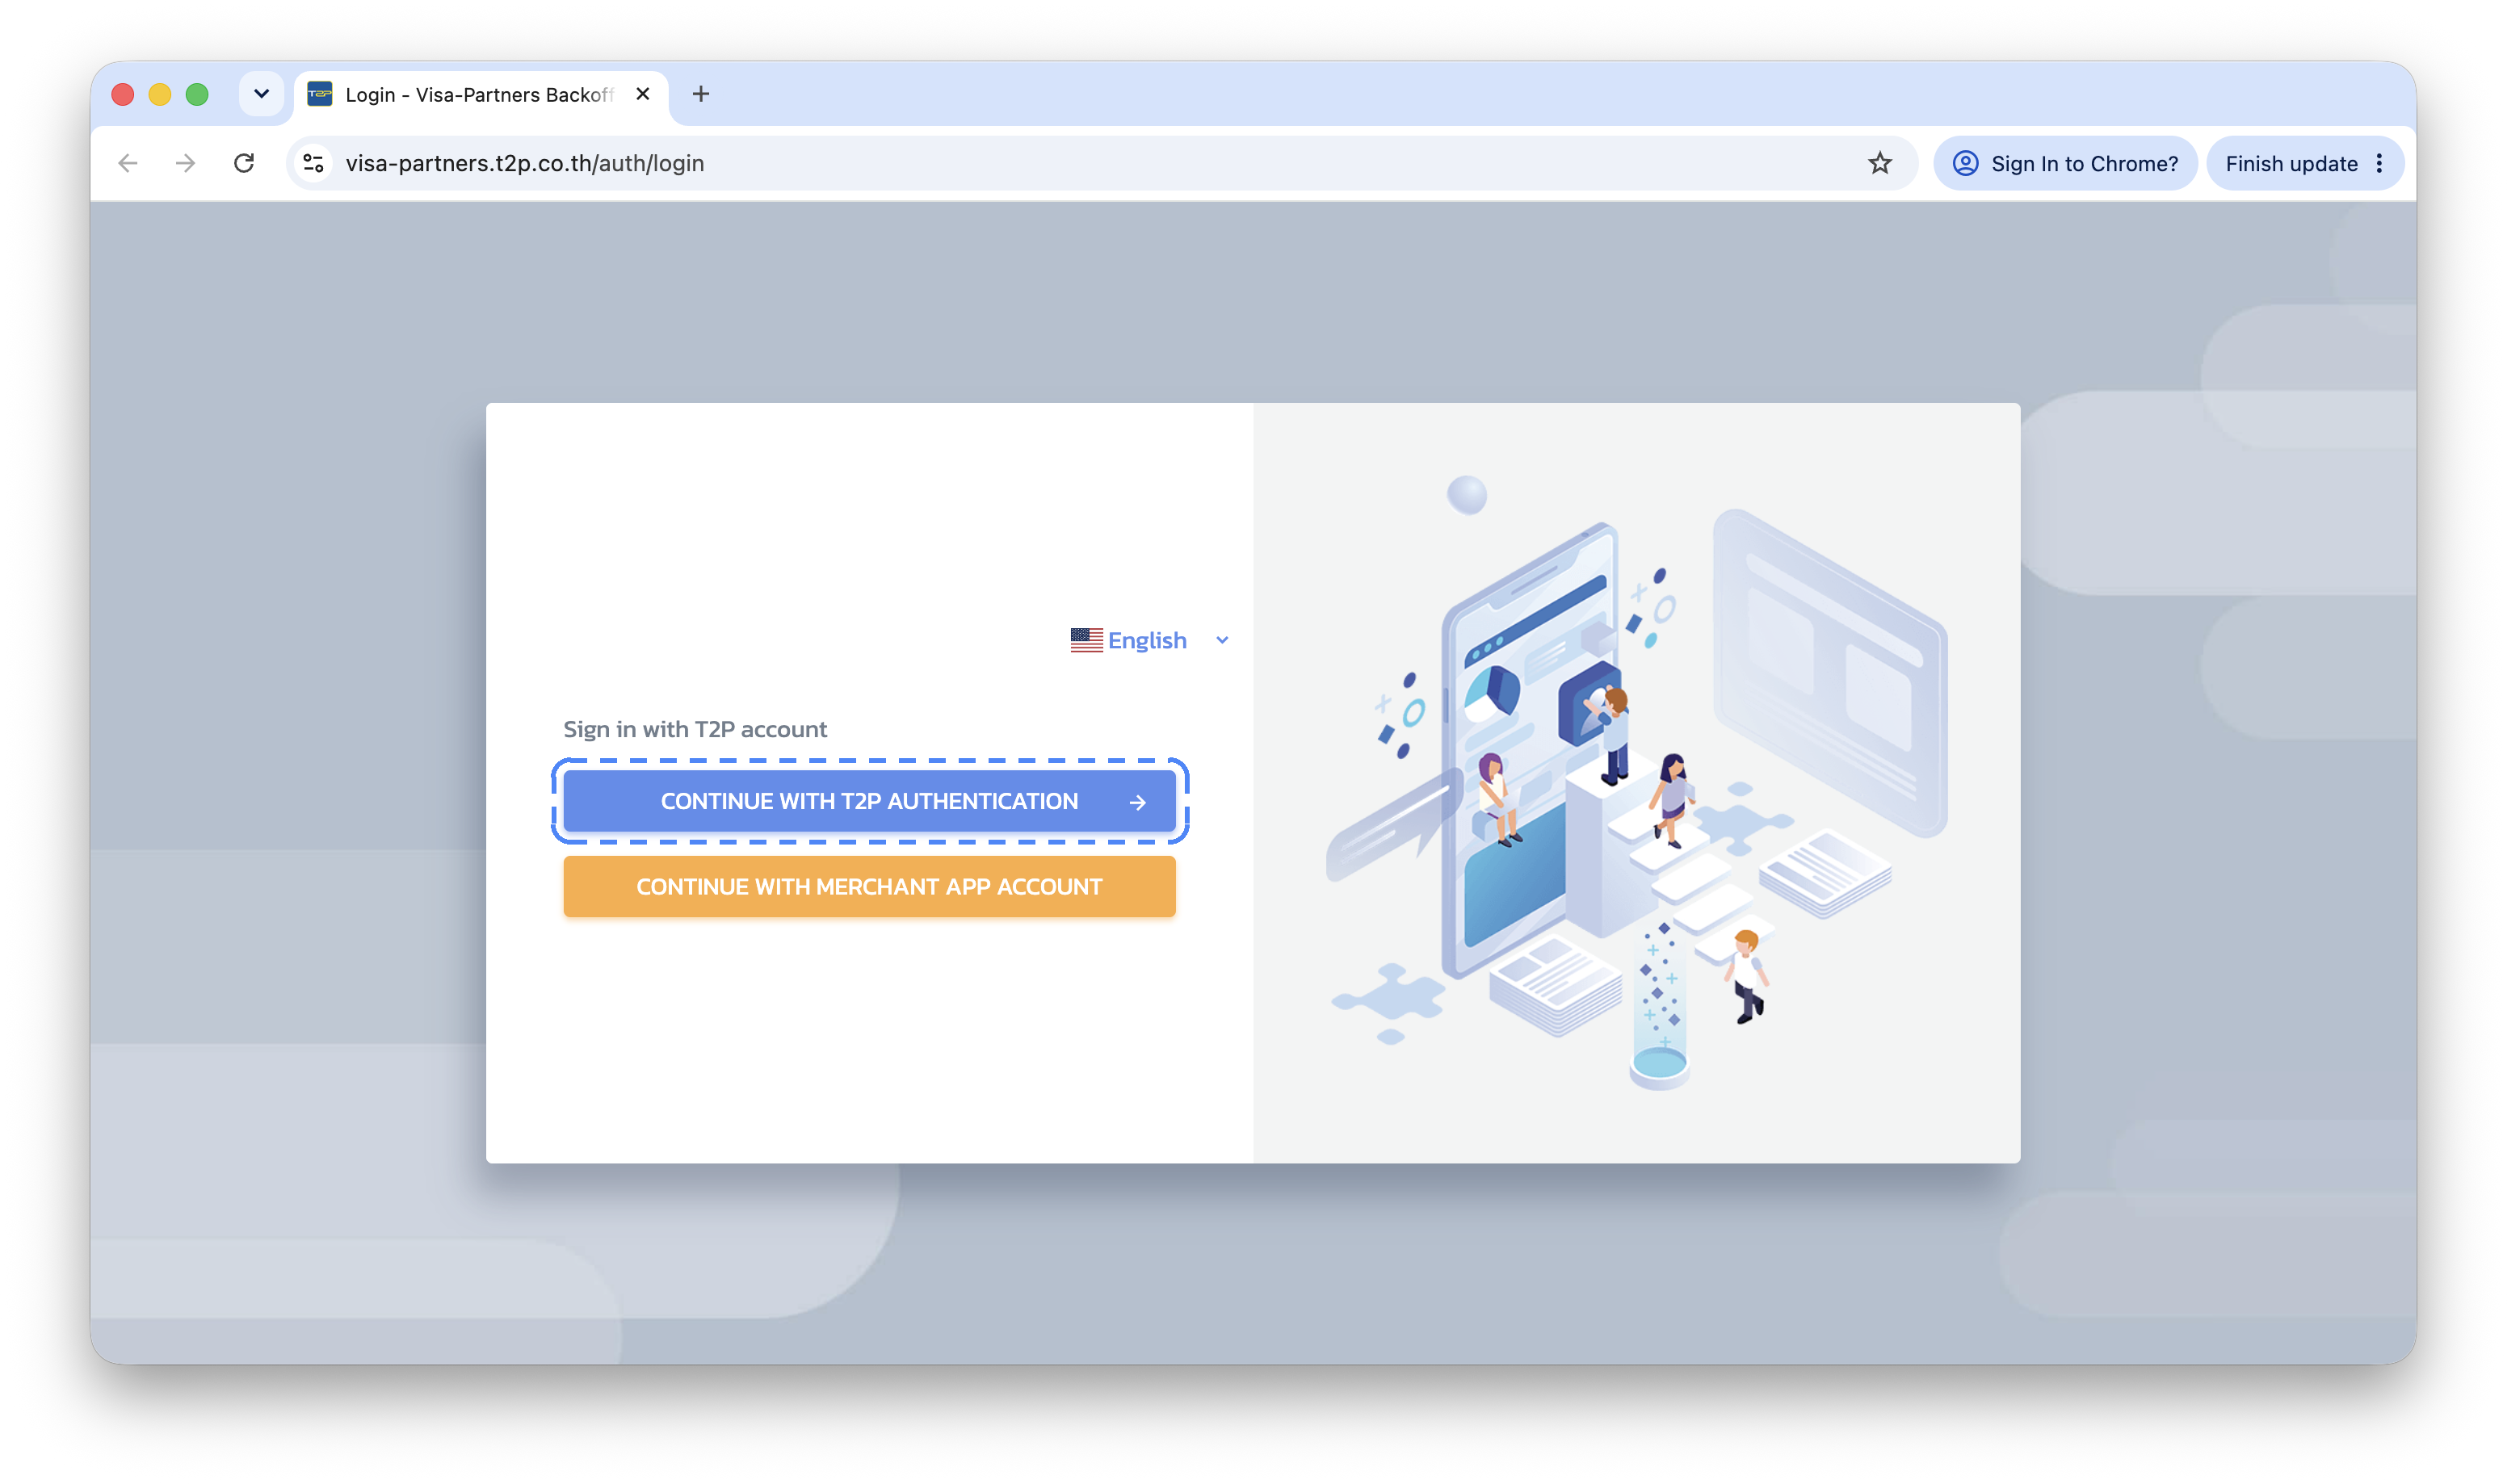
- The Merchant Application Portal link — in the email under the
Merchant Application Portal Linkheading: https://visa-partners.t2p.co.th/auth/login. TheDeepBLOK CRM Linkin the same email is a different system and not the one this article uses. - Your brand, already created by the DeepBLOK team — every branch belongs to a brand. If you open the create-branch page and there is no brand to pick, message a DeepBLOK representative.
- The list of branches you're opening, with the codes you intend to use — preparing them as a set is faster, because a branch code takes English letters and digits only, and the format is worth agreeing on once rather than per branch.
- The list of staff who need access, with a mobile number or an email address each — that value becomes each person's username.
- The Merchant App installed on the shop phone — the iOS and Android download links are in the same onboarding email.
📌 Good to know: the account in the onboarding email is your Portal account, not the account your staff use on the phone. The staff accounts are what you create in stage 2 of this article. Don't pass the Portal password on to the counter team.
The 3 stages, in order
The stages run in sequence and can't be reordered, because each one needs the result of the one before it.
1. Branch Management — create the branch Create the branch, set its code, and choose the menus staff will see in the app. This comes first because the next stage asks you to pick a branch from this list.
2. User Management — create the users Create an account for each staff member, set a starting password and PIN, then tie the account to the branches that person covers.
3. Staff sign in to the app Staff open the Merchant App with the branch code, username and password you set, confirm an OTP, set their own password and enter their PIN. The staff side of it is covered in the How to open a merchant app account for your shop article.
Create a branch in 3 steps
Step 1: Open Branch Management
Open the Portal from the link in the onboarding email and sign in with the username and password from that same email. Then, in the left sidebar under TOOLS, click Merchant App Management. It expands into 3 sub-menus, top to bottom: User Management · Brand Management · Branch Management. Then click Branch Management.
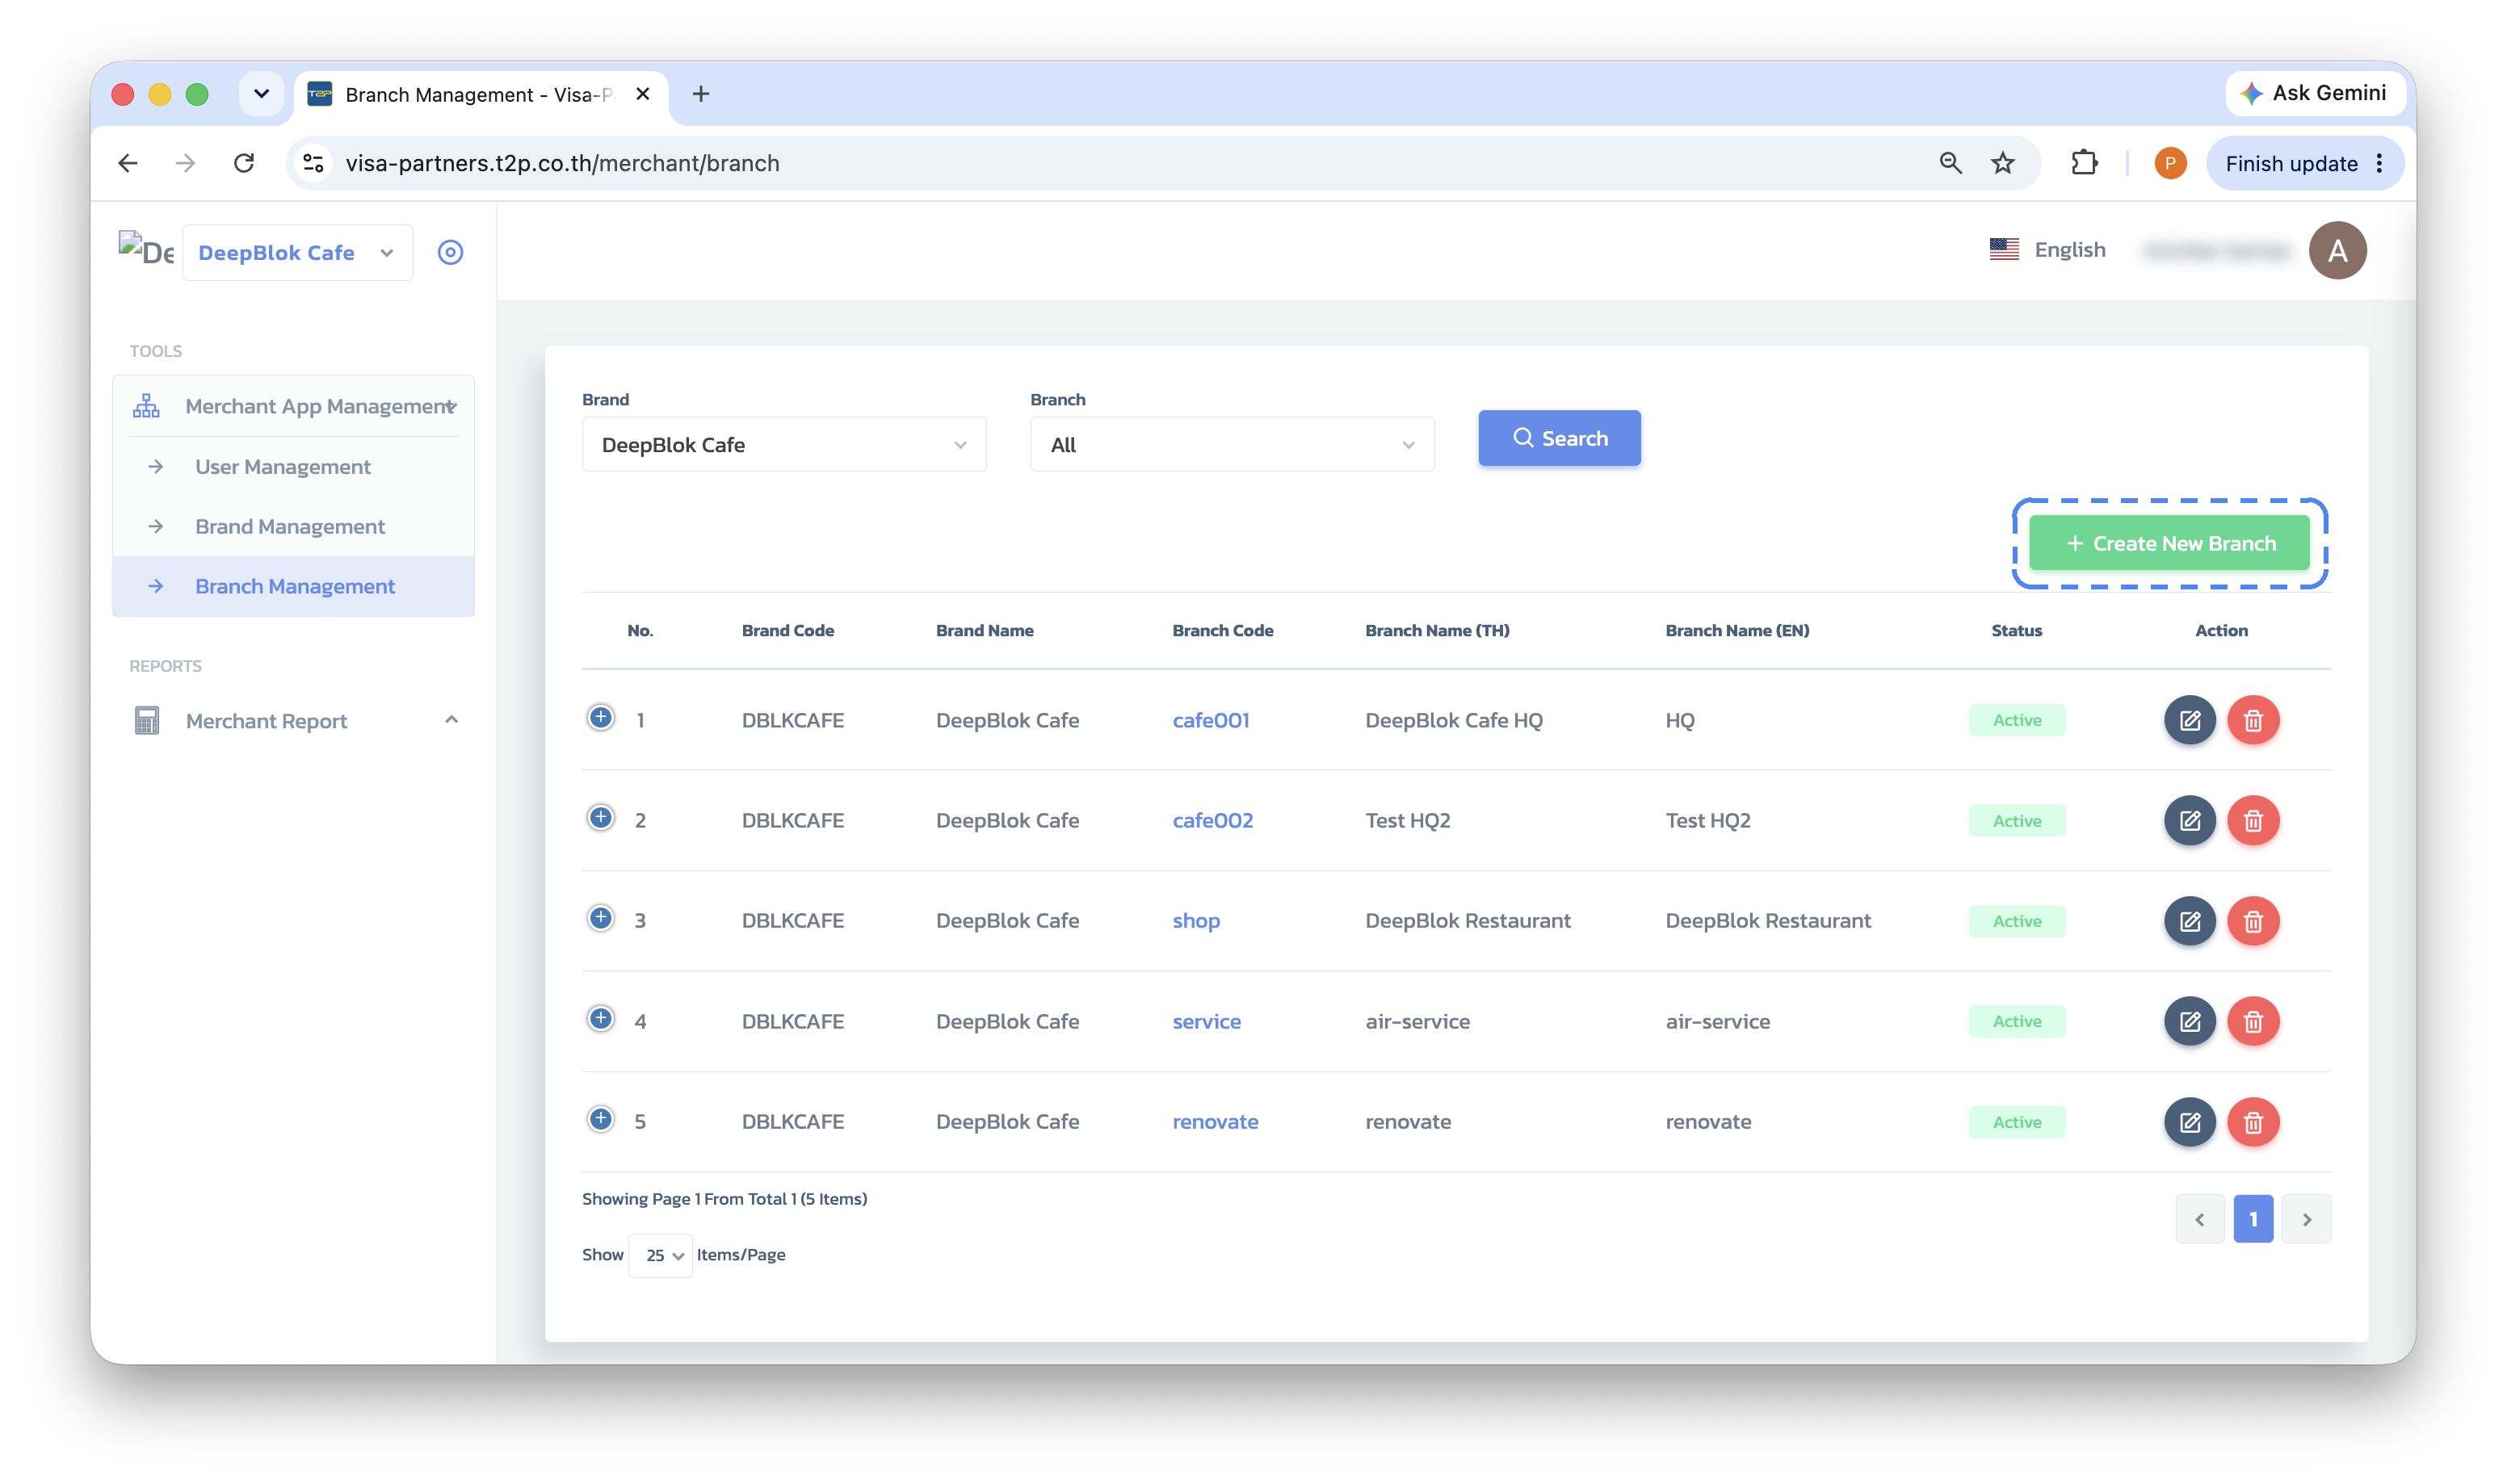
This page lists every branch on the brand. Above the table are Brand and Branch filters with a Search button, and at the top right of the table is the green Create New Branch button. That's the one to press.
Check the brand name at the top left first. The brand sits beside the logo in the top-left corner and can be switched. If you look after more than one brand, make sure it is the brand you mean to add the branch to.
📌 Good to know: the branch table has 16 columns in total but only shows as many as the width of your window allows; the rest are hidden. To see every field of one branch, press the blue circled
⊕at the start of its row — the system opens a read-only summary of that branch's whole record, with a dash-against anything that was left empty. Close it with the×at the top left.
Step 2: Fill in 3 fields under Branch Info
The Create New Branch page opens, with the trail Branch Management / Create New Branch under the heading. Its first section is Branch Info, a long 2-column run of fields. Only 3 of them are actually used.
The Brand field at the top is the brand this branch belongs to, and is already selected for you. Every other field on the page — Logo Path · Website · Branch Address · Contact Number · Bank Account Name · Bank Account Number · Bank Code · Bank Name, and the Branch Opening Hours (Mon-Sun) section, which is one toggle per day — isn't used by the Merchant App, so you can leave them empty.
📌 Good to know: whichever branch name matches the app's display language is the name staff see on the app's home screen after signing in, and it is how they confirm they're in the right branch. It is also the name that appears in the branch picker in stage 2. Make each one distinguishable at a glance — add the floor or the zone when a mall holds several of your outlets.