

The welcome screen is the first thing a customer sees the moment they finish signing up. You configure it under Settings → Register Form Management, then scroll down to the panel called Set up splash message after registration completed. You can set a logo, a background image, a headline, a welcome message, and the button text — about 15 minutes' work if your images are ready. Changing it does not affect the fields in your registration form, and does not affect members who have already signed up.
⚡ Quick Path:
Settings→Register Form Management→ scroll toSet up splash message after registration completed→Welcome splash message→ pick a template mode → upload images + write copy → theSaveinside that section →Save All
This article covers the welcome screen shown at signup specifically. If you're looking to change the banners or imagery on the membership homepage, that's a different place — see the How to upload artwork for news and promotions article instead.
Requirements before you start
- An account that can see
Settingsand openRegister Form Management— if that menu item isn't in your left sidebar, ask an Admin on your team to grant you access first. - 2 image files per welcome screen — a logo/main image and a background image. Both slots accept PNG only, up to 1 MB each. Recommended sizes are in the table below.
- 3 pieces of copy, in both English and Thai — a headline, a welcome message, and the button text. Each field has a shorter character limit than you'd expect, especially the button at 10 characters. Write tight from the start.
- Decide up front whether you want different copy per membership tier — if you do, you'll need images and copy multiplied by however many tiers your brand has.
Specs for every field on the welcome screen
Both image slots accept PNG files only — unlike other upload slots in the product, which take JPEG as well. If your artwork is a JPG, convert it to PNG before uploading.
Customize your welcome screen in 6 steps
1. Open Register Form Management
In the left sidebar, click Settings. The menu expands into its submenu with a pale-yellow highlight. Click Register Form Management.
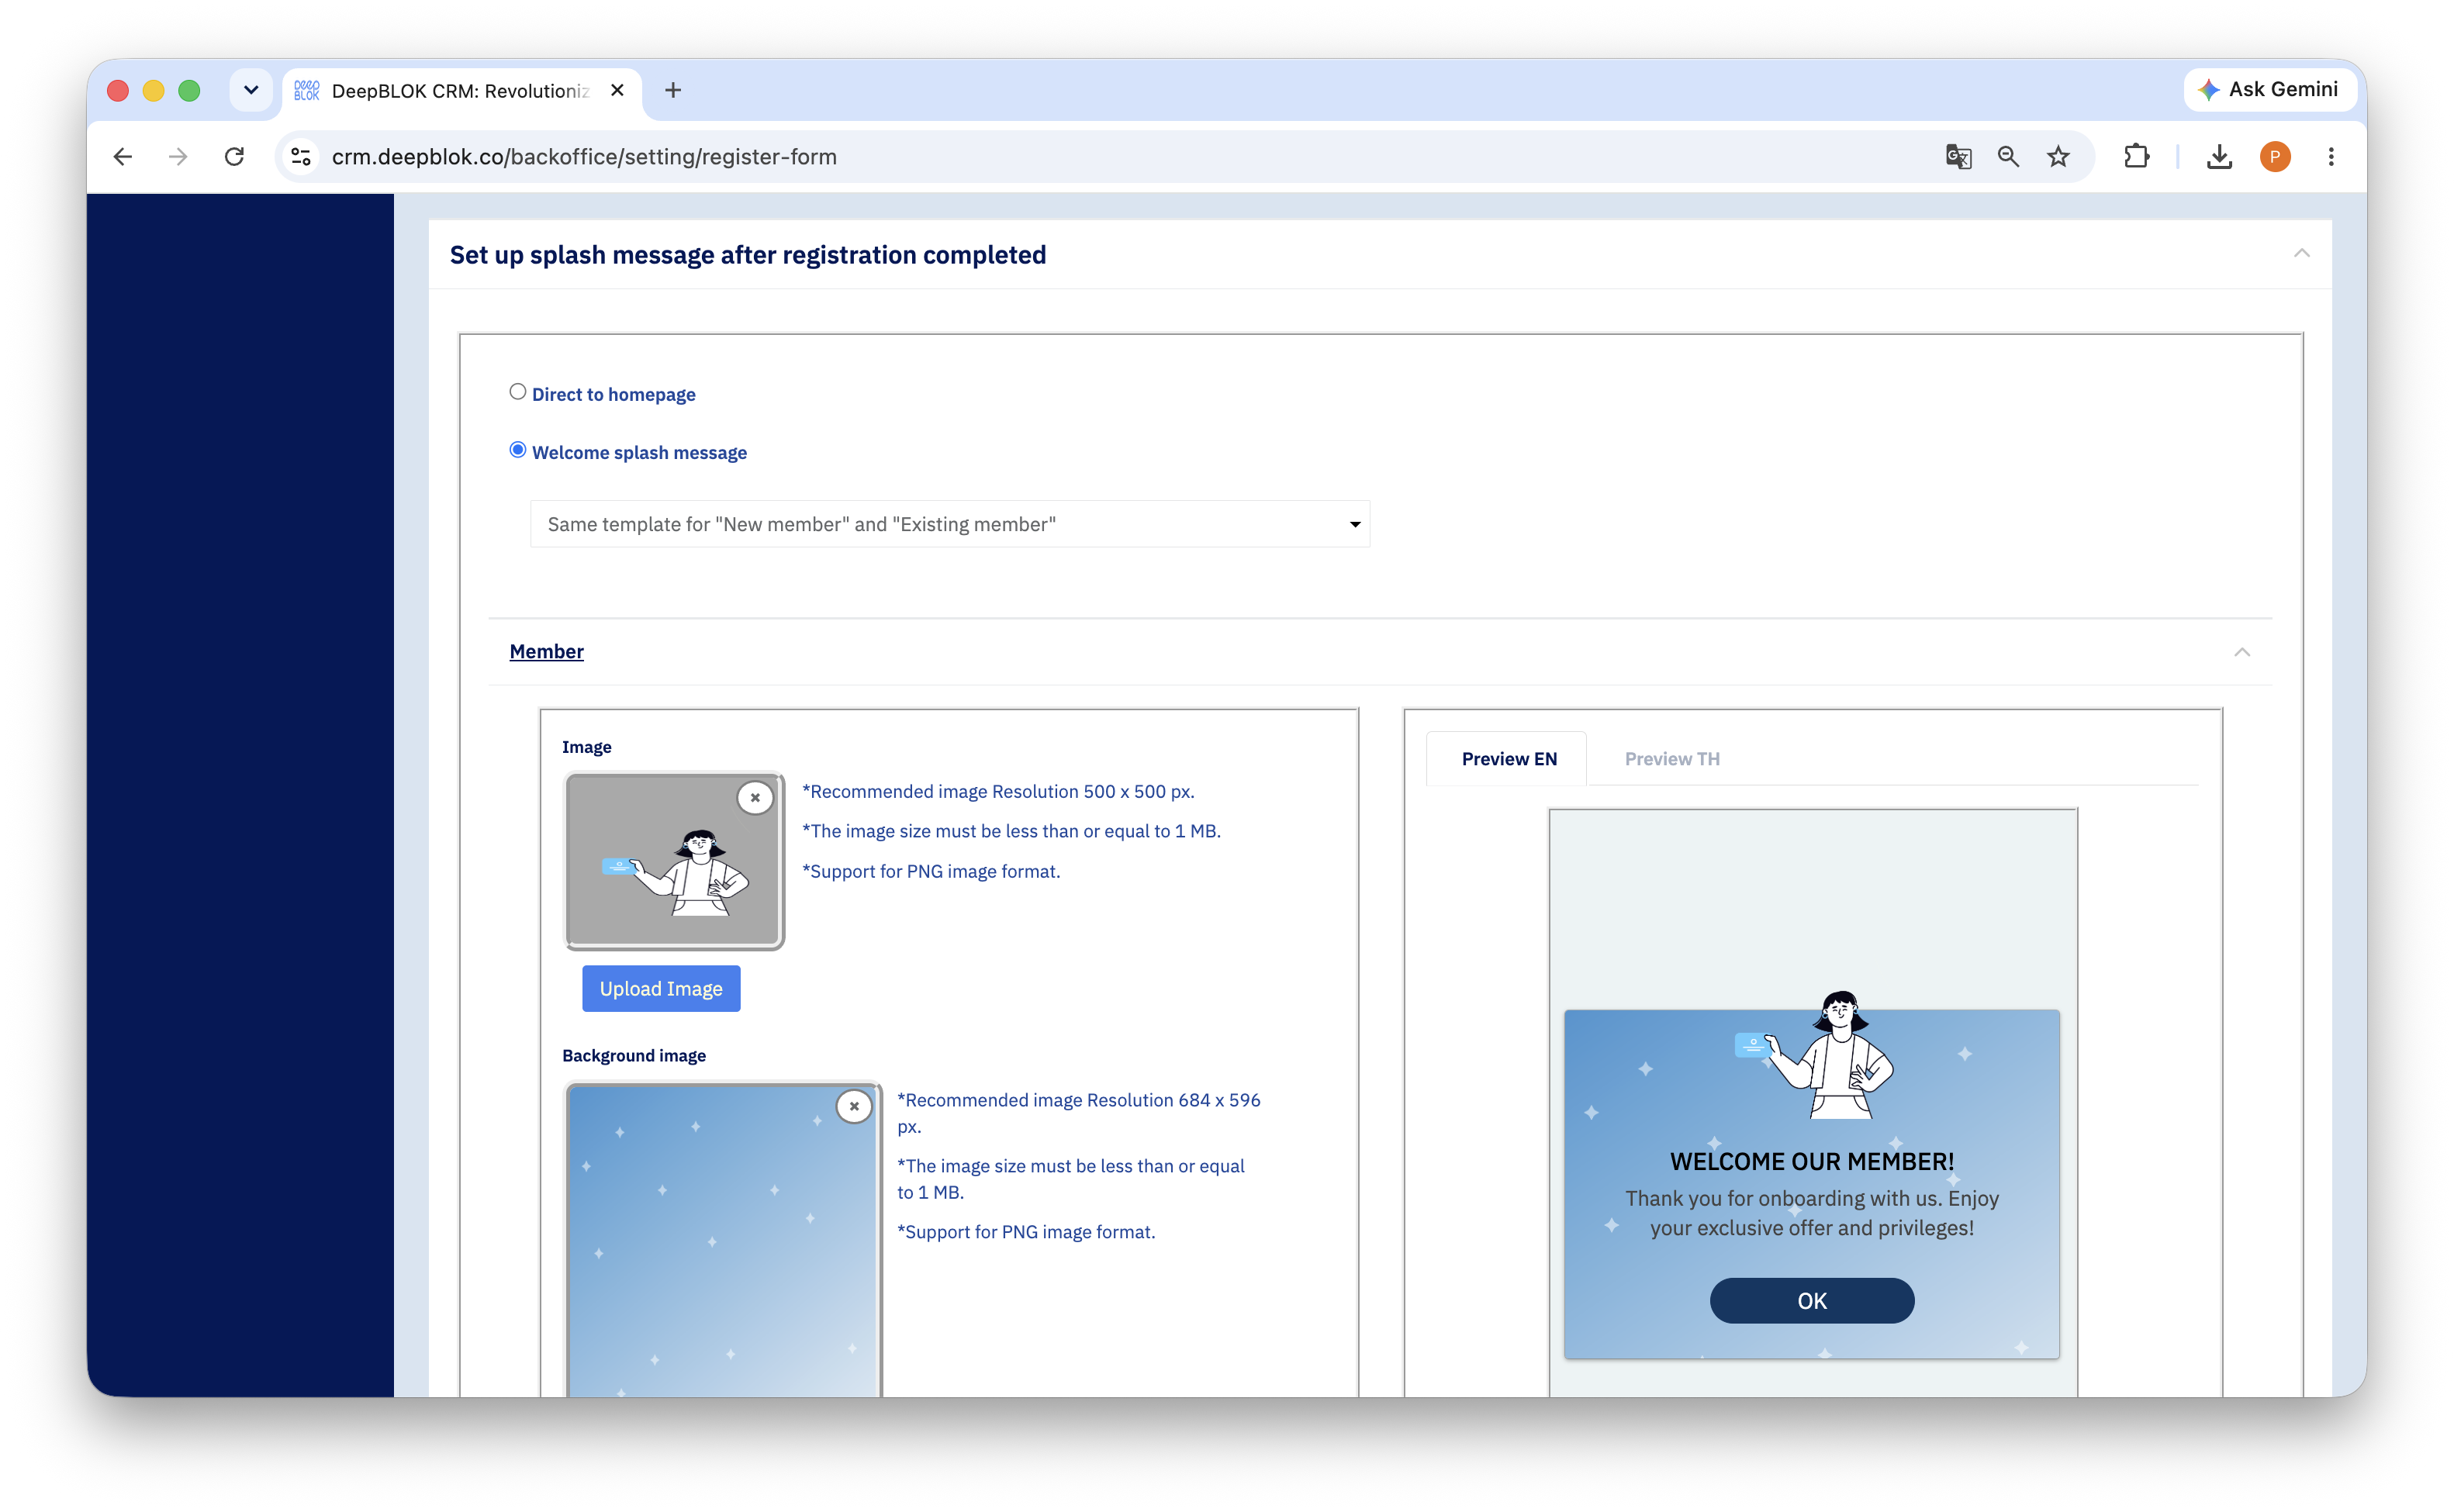
Once the page loads, scroll all the way down past the field configuration and the question set until you reach the panel titled Set up splash message after registration completed.
2. Choose Welcome splash message
The panel offers 2 radio options.
1. Direct to homepage Customers who finish signing up land straight on the membership homepage, with no welcome screen in between. Pick this while your artwork isn't ready, or to switch the welcome screen off temporarily.
2. Welcome splash message Customers see the screen you design first, then tap a button to continue to the homepage. Pick this one to reveal all the configuration fields.
As soon as you select Welcome splash message, the configuration section opens below it.
3. Pick a template mode
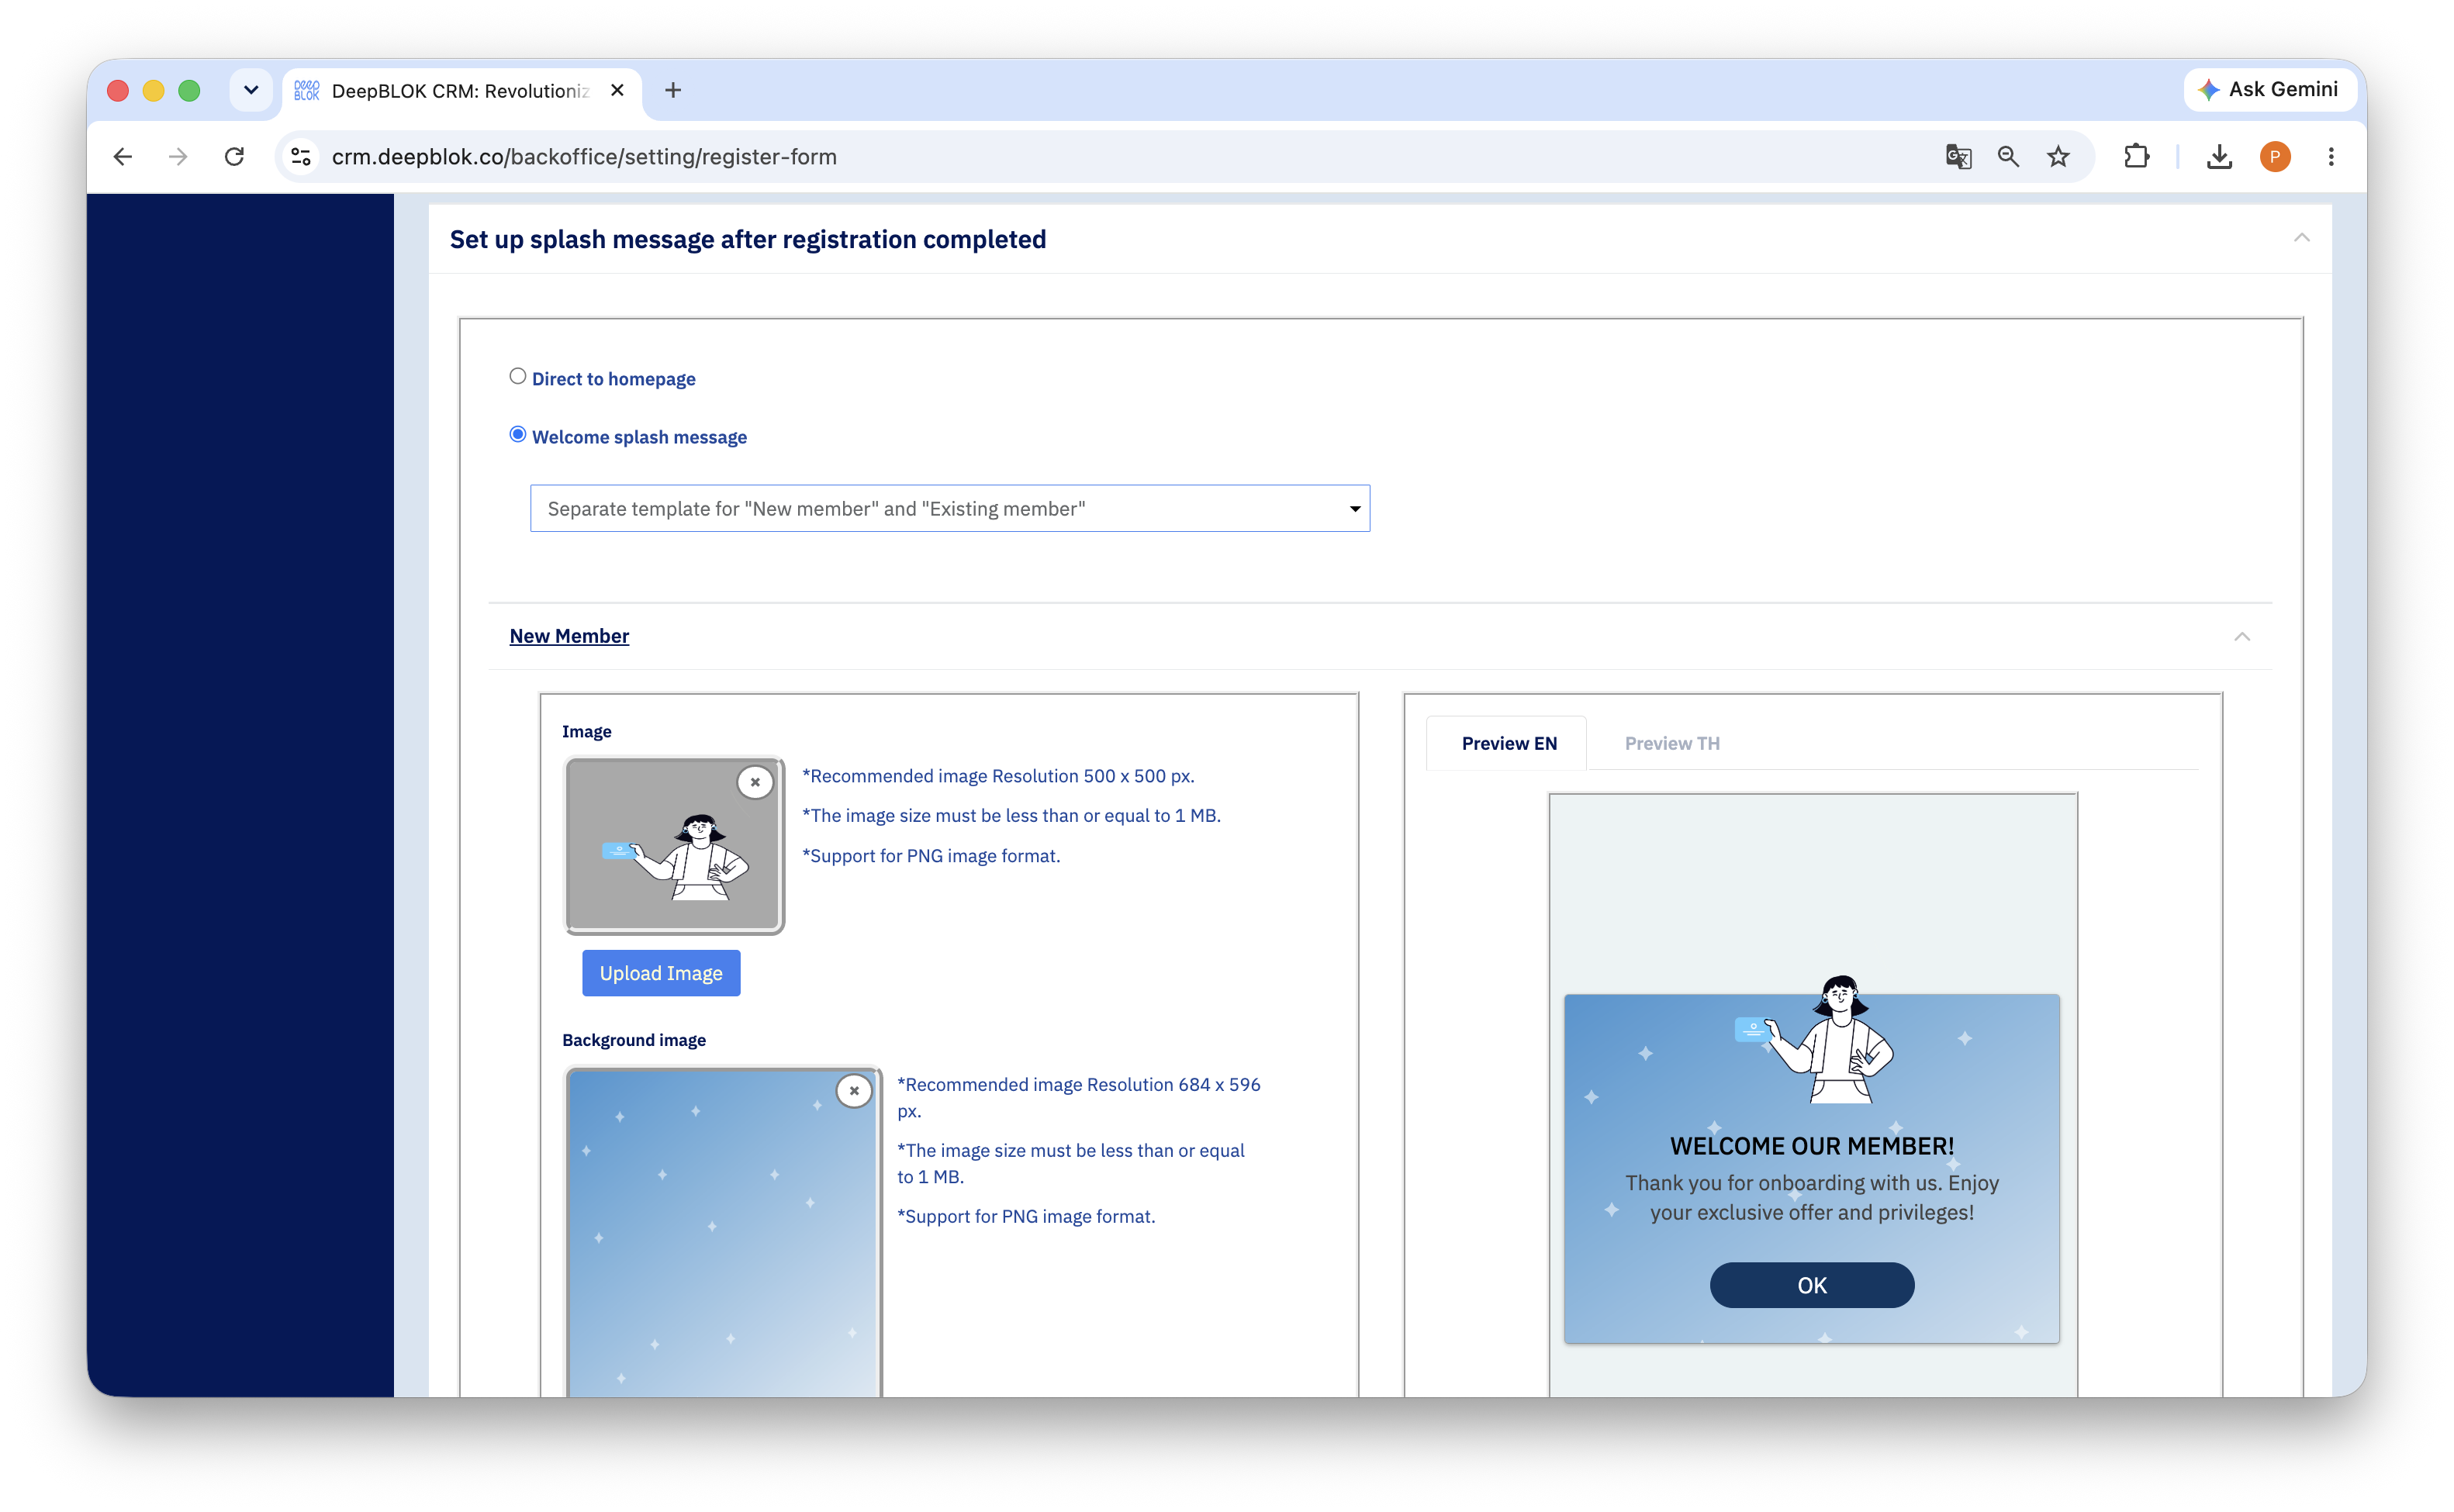
Below the radio options sits a full-width dropdown that decides whether everyone sees the same welcome screen, or whether it varies by member type.
1. Same template for "New member" and "Existing member" One set of images and copy for everyone — both brand-new signups and customers migrated in from your old database. You get a single configuration section, labelled Member. Configure once and you're done. Best for brands just getting started.
2. Separate template for "New member" and "Existing member" The panel splits into 2 accordions — New Member and Existing member — and importantly, the Existing member accordion breaks down further into one section per membership tier, using the tiers your brand has defined. This is how you greet your top-tier customers with different wording from everyone else.
📌 The tiers listed here are your brand's own — not a standard system list. If you add or remove a tier later, come back to this page and check that the new tier has a welcome message.
4. Upload your logo and background image
Each configuration section opens with 2 upload slots.
Image— the logo or main image that sits centred on the screen. Recommended 500 × 500 px.Background image— the full-screen backdrop. Recommended 684 × 596 px.
Both accept PNG only, up to 1 MB. The sizes printed beneath each slot are recommendations — match them and your artwork will look their best on a phone.
📌 How to make a background your text can survive: the welcome copy sits on top of the background image. Choose artwork that's fairly plain through the middle, or bake a soft solid overlay into the file before uploading. It makes a bigger difference to readability than anything you can change in the Backoffice.