

Tiers are what gives a regular customer more than a passer-by. The tier names, the spend needed to climb, and the perks each tier carries are all yours to set from the Settings menu. This article walks through each part, from the tier table to the benefits customers see in the app.
⚡ Quick Path:
Settings→Membership Management→ pick the tab you need →EditorCreate Member Tier
Requirements before you start
- Access to the
Settingsmenu — it sits at the bottom of the left sidebar and is an administrator menu. IfMembership Managementis not inside it, your login cannot configure this area. - A tier structure your team has agreed on — the names, the spend for each tier, and the perks. Settle these before you start filling the form, because they affect customers who are part-way through earning.
- Benefit wording in both Thai and English — the benefit title field is required in both languages, so have the text ready rather than coming back to fix it.
The Membership List page and the 2 kinds of tier
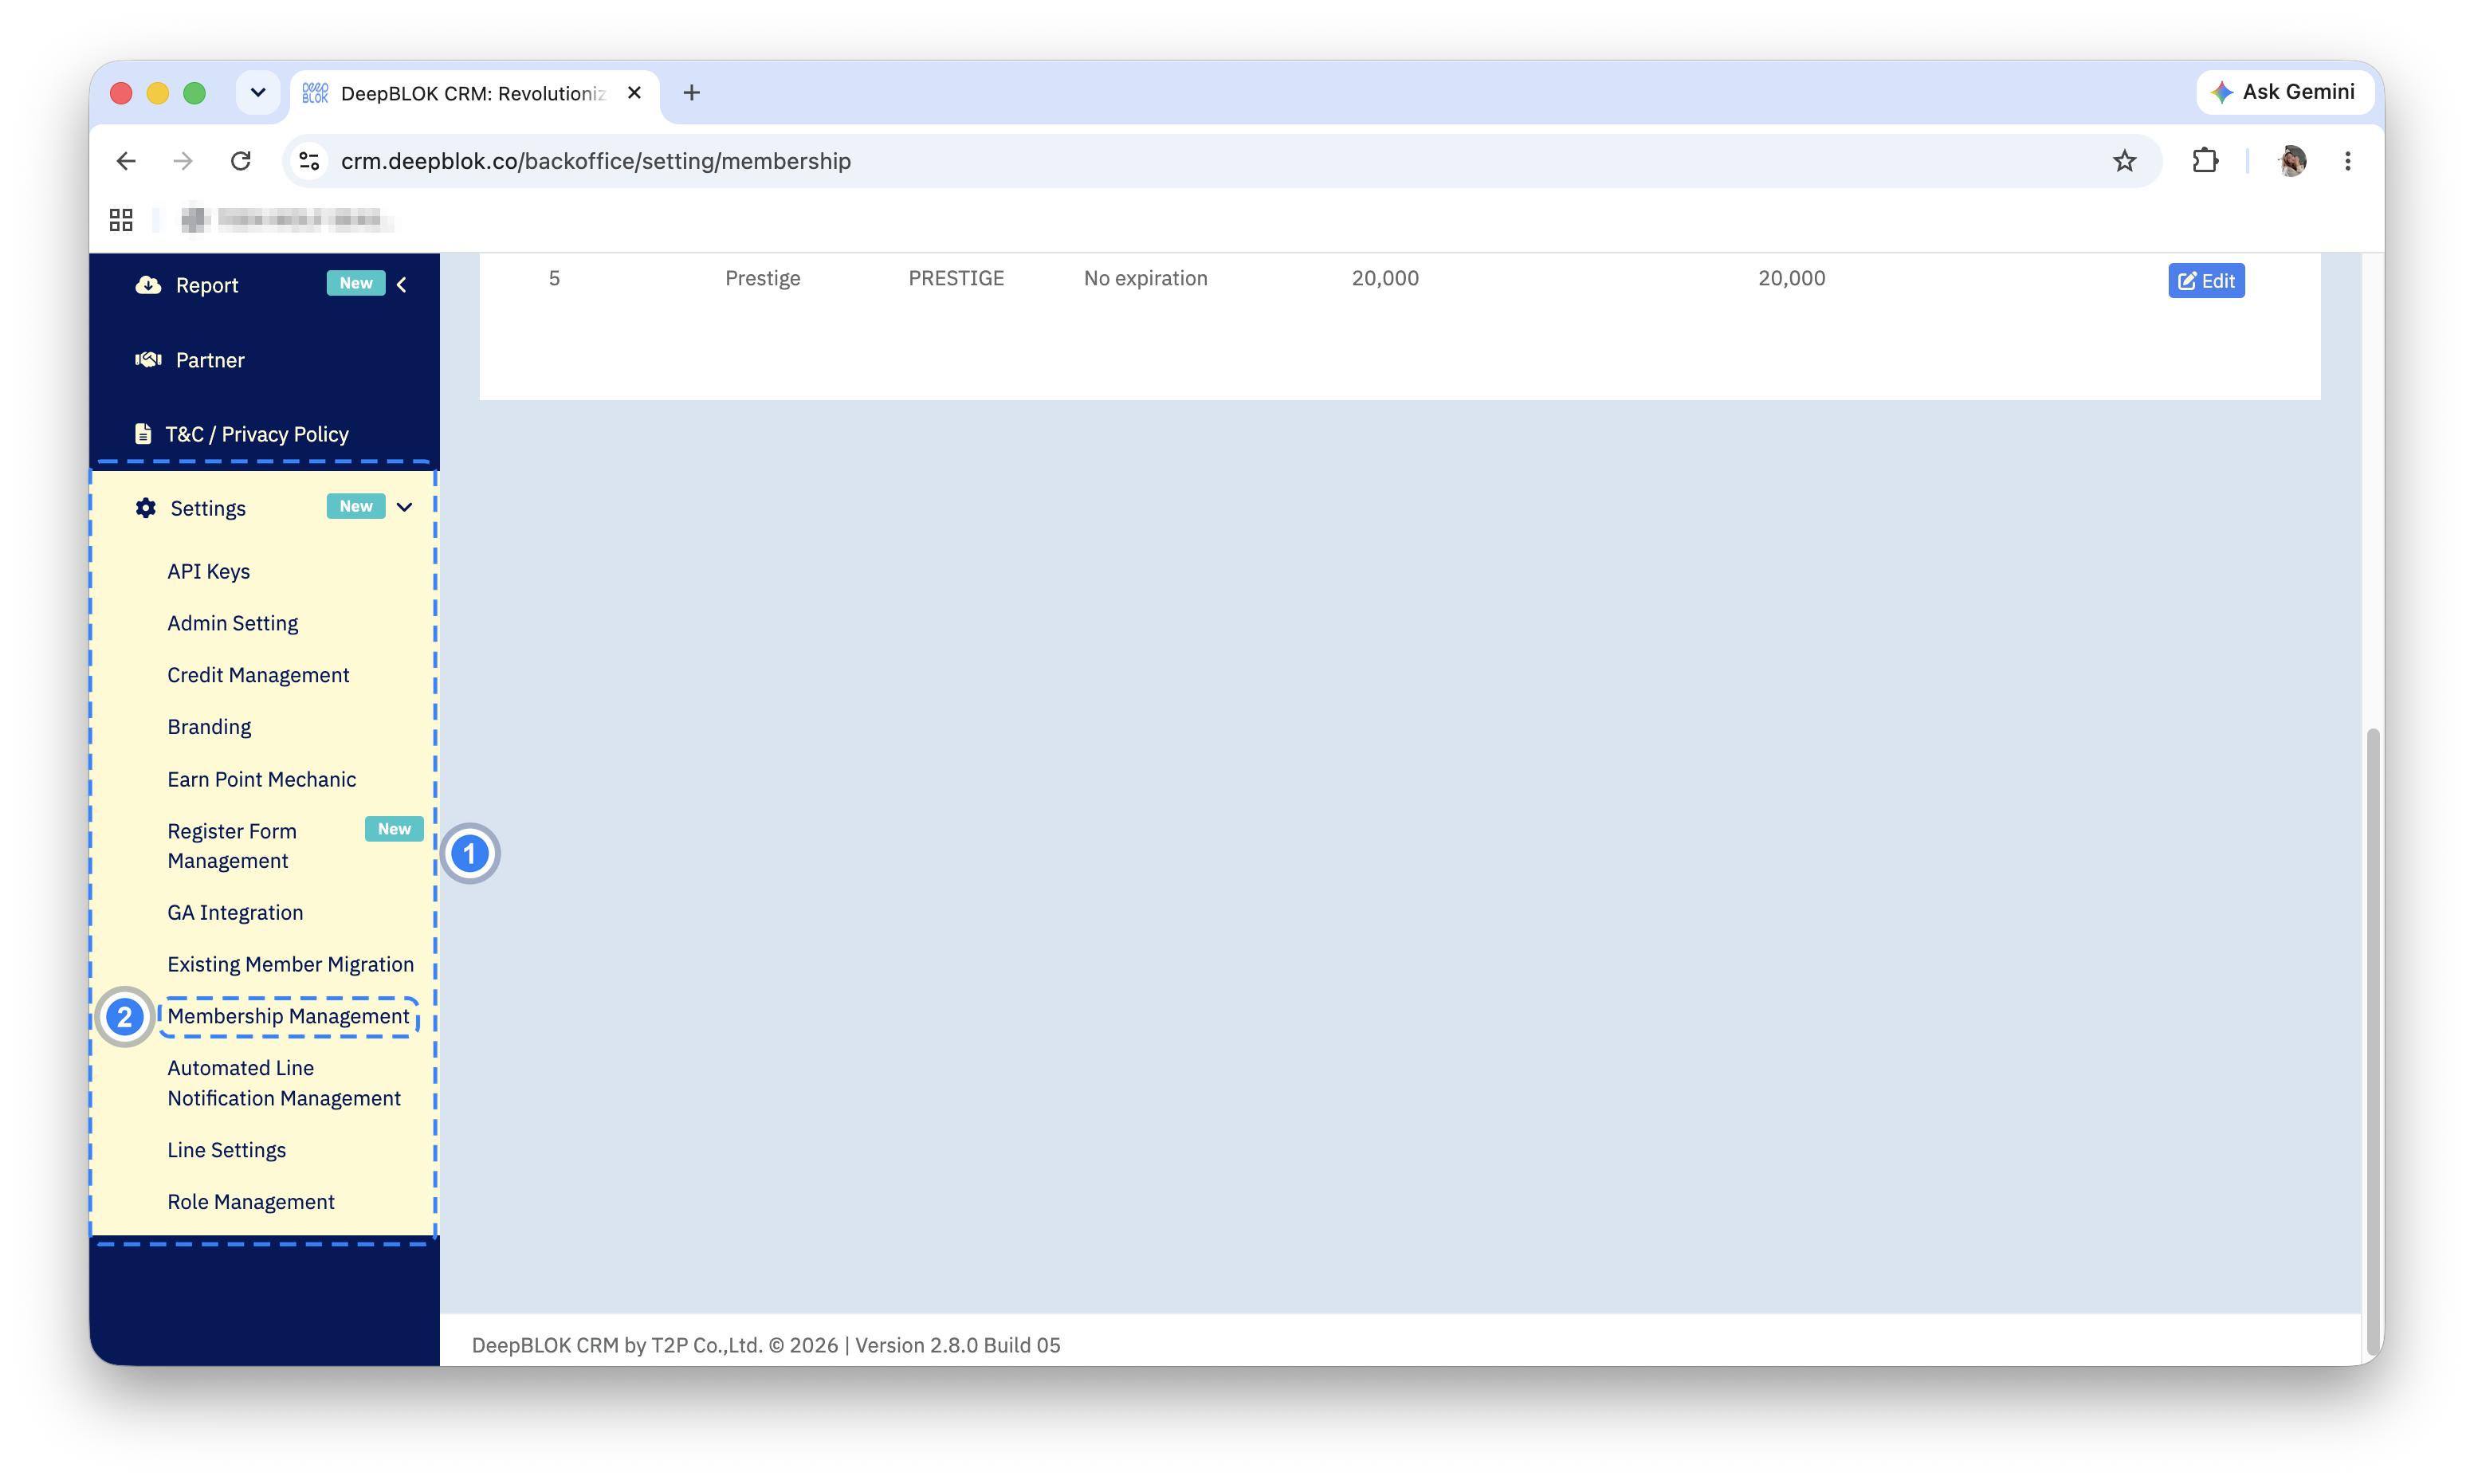
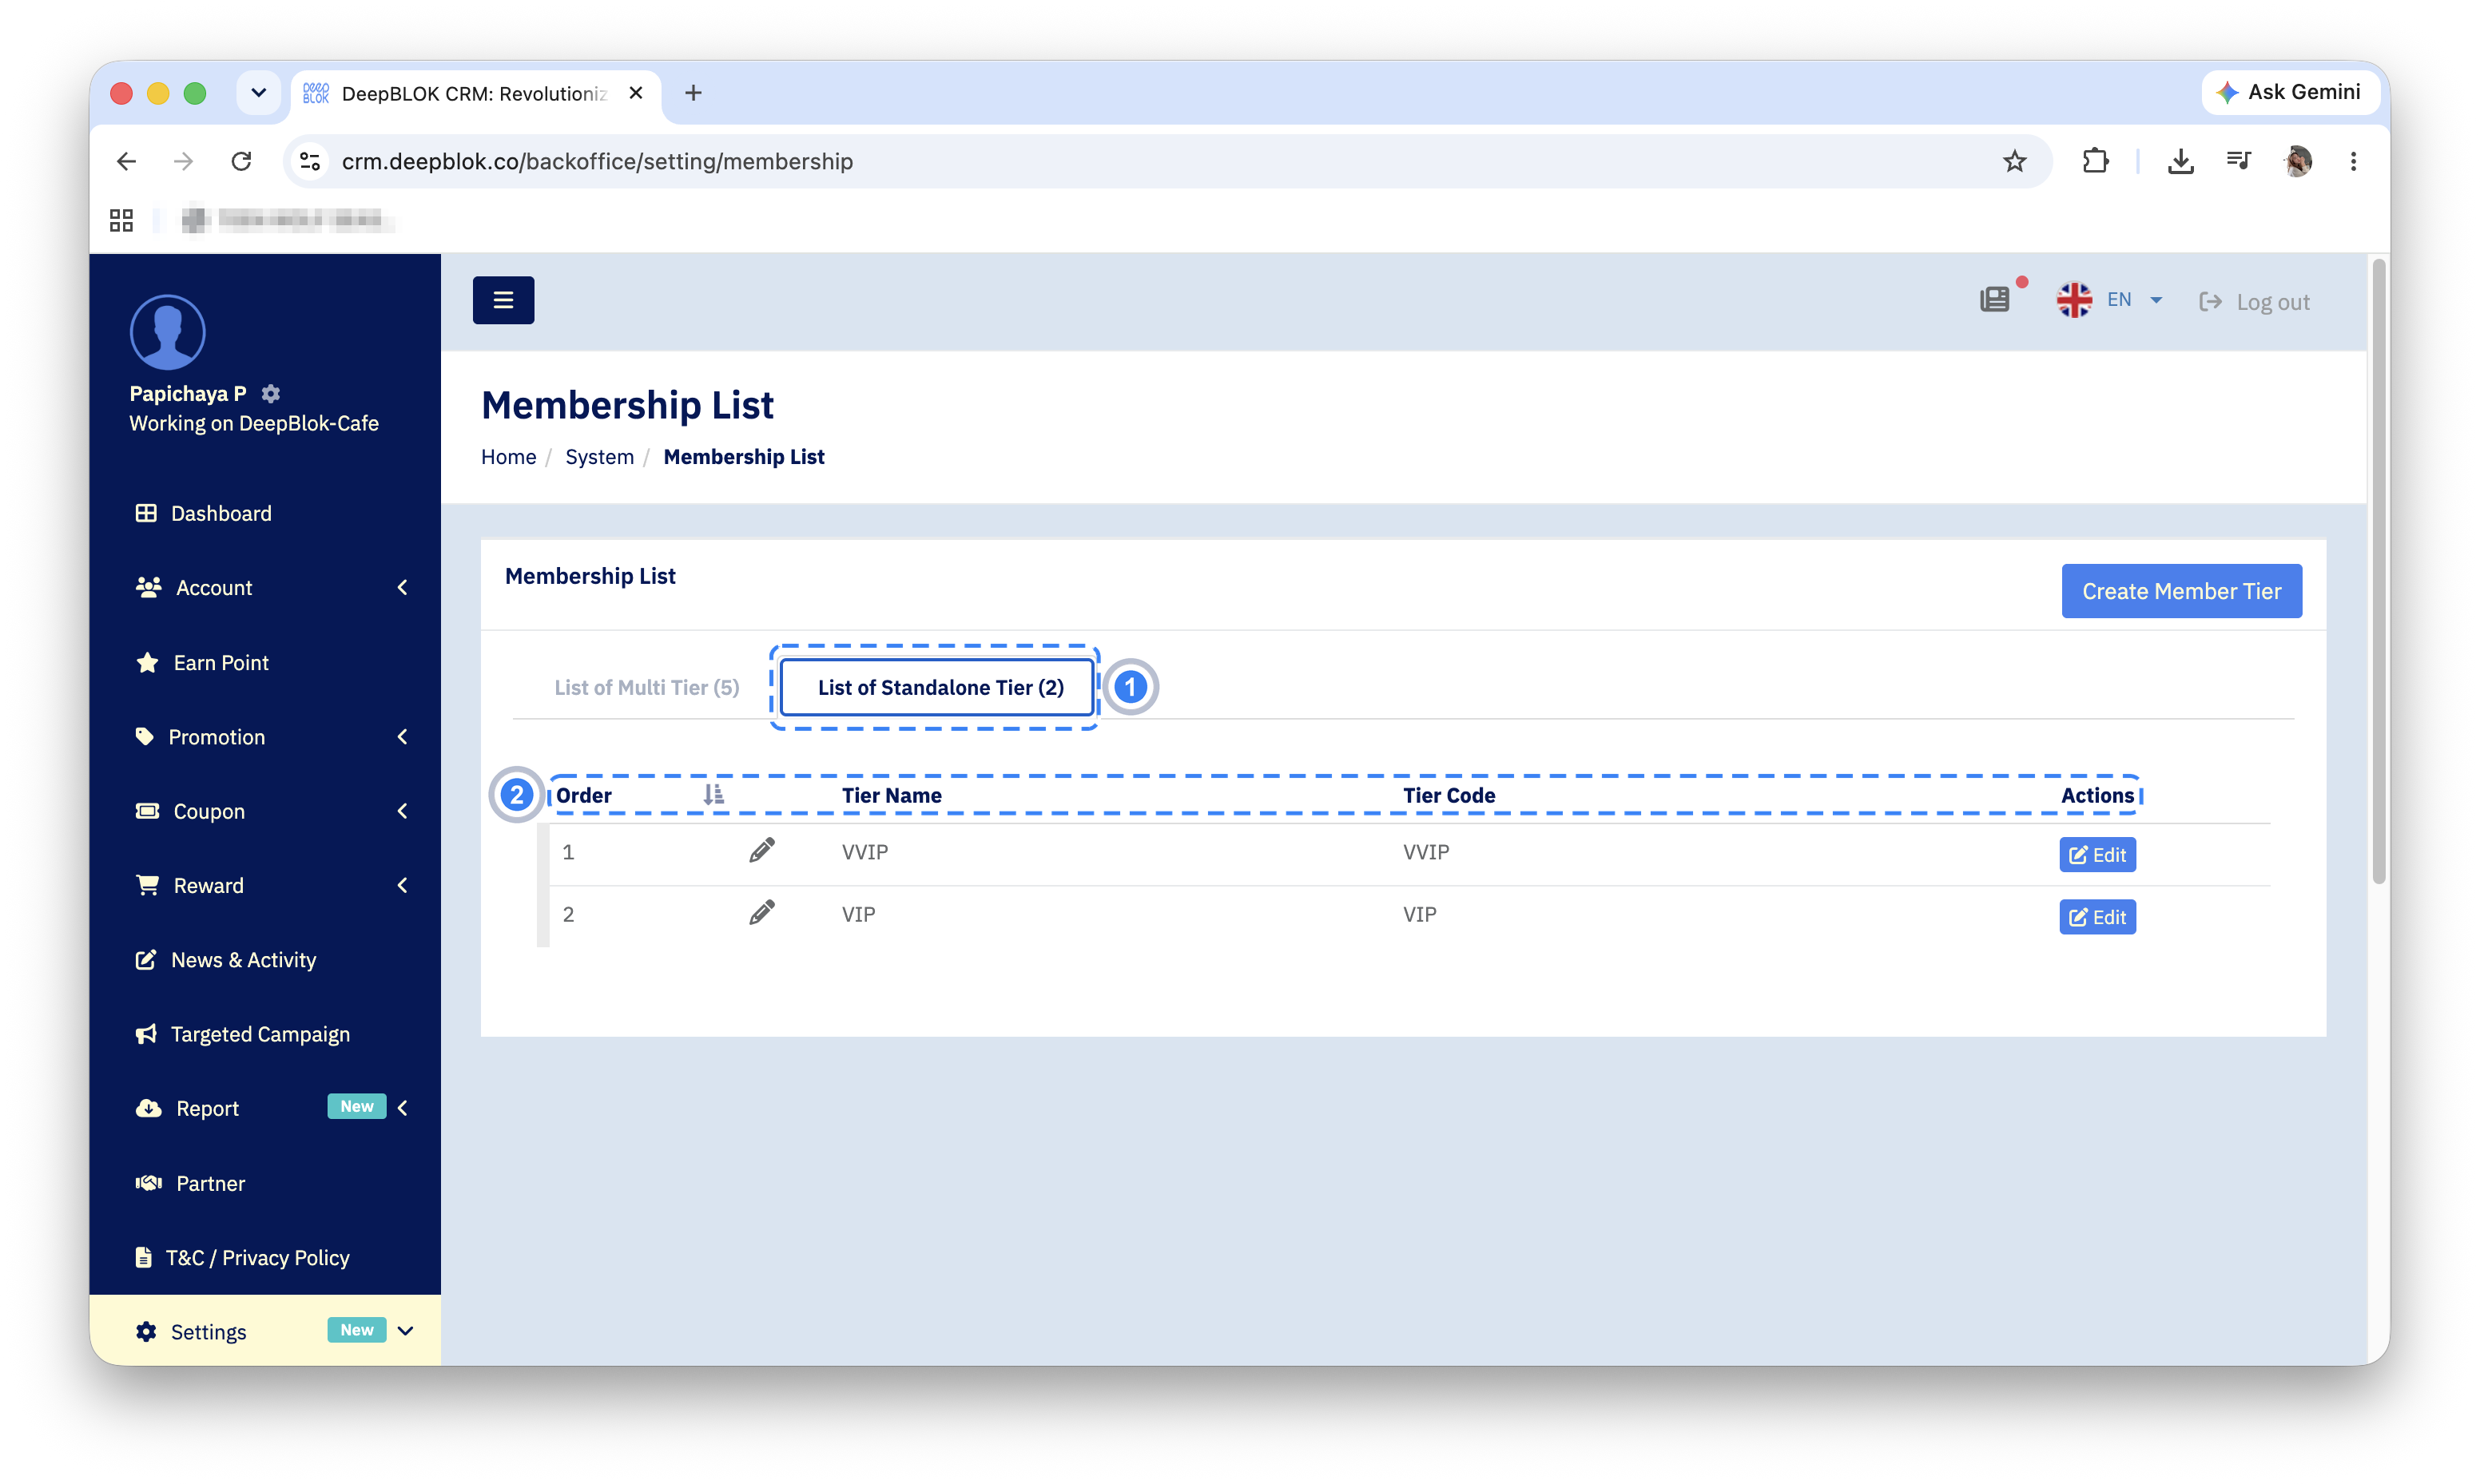
Click Settings in the left sidebar and choose Membership Management. The system opens the Membership List page, with a Create Member Tier button at the top right and 2 tabs to switch between. The number in brackets on each tab is how many tiers it holds.
1. List of Multi Tier The tiers customers climb by spending — Bronze, Silver, Gold, Platinum, Prestige, for example. Customers move up and down these according to what they actually spend.
2. List of Standalone Tier Special tiers that sit outside that ladder, such as VIP or VVIP. This tab's table holds only Order, Tier Name and Tier Code — no spend or expiry columns.
📌 Good to know: the important difference is that tiers on the List of Standalone Tier tab carry no spending condition. A customer does not reach one by spending enough; it is a tier granted to a chosen group. The Order column only controls display order — it is not a ladder position the way Tier Level is.
The columns in the tier table
The List of Multi Tier tab holds 6 columns, left to right.
1. Tier Level The tier's rung on the ladder, starting at 1. A higher number is a higher tier. Click the heading to reverse the order.
2. Tier Name The tier name customers see — Gold, for instance.
3. Tier Code The tier's code, in capitals, such as GOLD. It is what the system and the customer-group conditions refer to.
4. Tier Expiry Period How long the tier lasts. The values in use are No expiration and End of year expiration.
5. Use Spending Point to Achieve The spend a customer needs to reach this tier.
6. Use Spending Point to Remain The spend a customer needs to keep this tier.
An Edit button at the end of each row opens that tier's settings.
Reaching a tier versus keeping it
Those last 2 columns are the easiest pair to mix up: the names are similar and they are often set to the same figure, yet they apply at different moments.
In that example a customer reaches Gold at 4,000, but spending under 5,000 in the following period means they cannot hold Gold. The 2 figures do not have to be set the same.
Both work alongside Tier Expiry Period: a tier set to No expiration never comes up for review, while one set to End of year expiration is reviewed at year end — which is when the figure for keeping the tier is applied. A month before that date the system notifies the customer automatically.
A tier that carries a Tier Expiry Period can therefore be wired to the automated LINE notification. It is the moment to invite the customer back before their period closes, which helps them hold the tier they already have and lifts the month's sales at the same time. Setting the automated message up is covered in Automated Line Notification Management.
Adding and editing a tier
New tiers are created with the Create Member Tier button at the top right, and existing ones are changed with the Edit button at the end of their row. Both open a full page, not a dialog.
The fields on the create and edit pages
The upper section on both is Member Tier Setting: